Nanaimo Bars
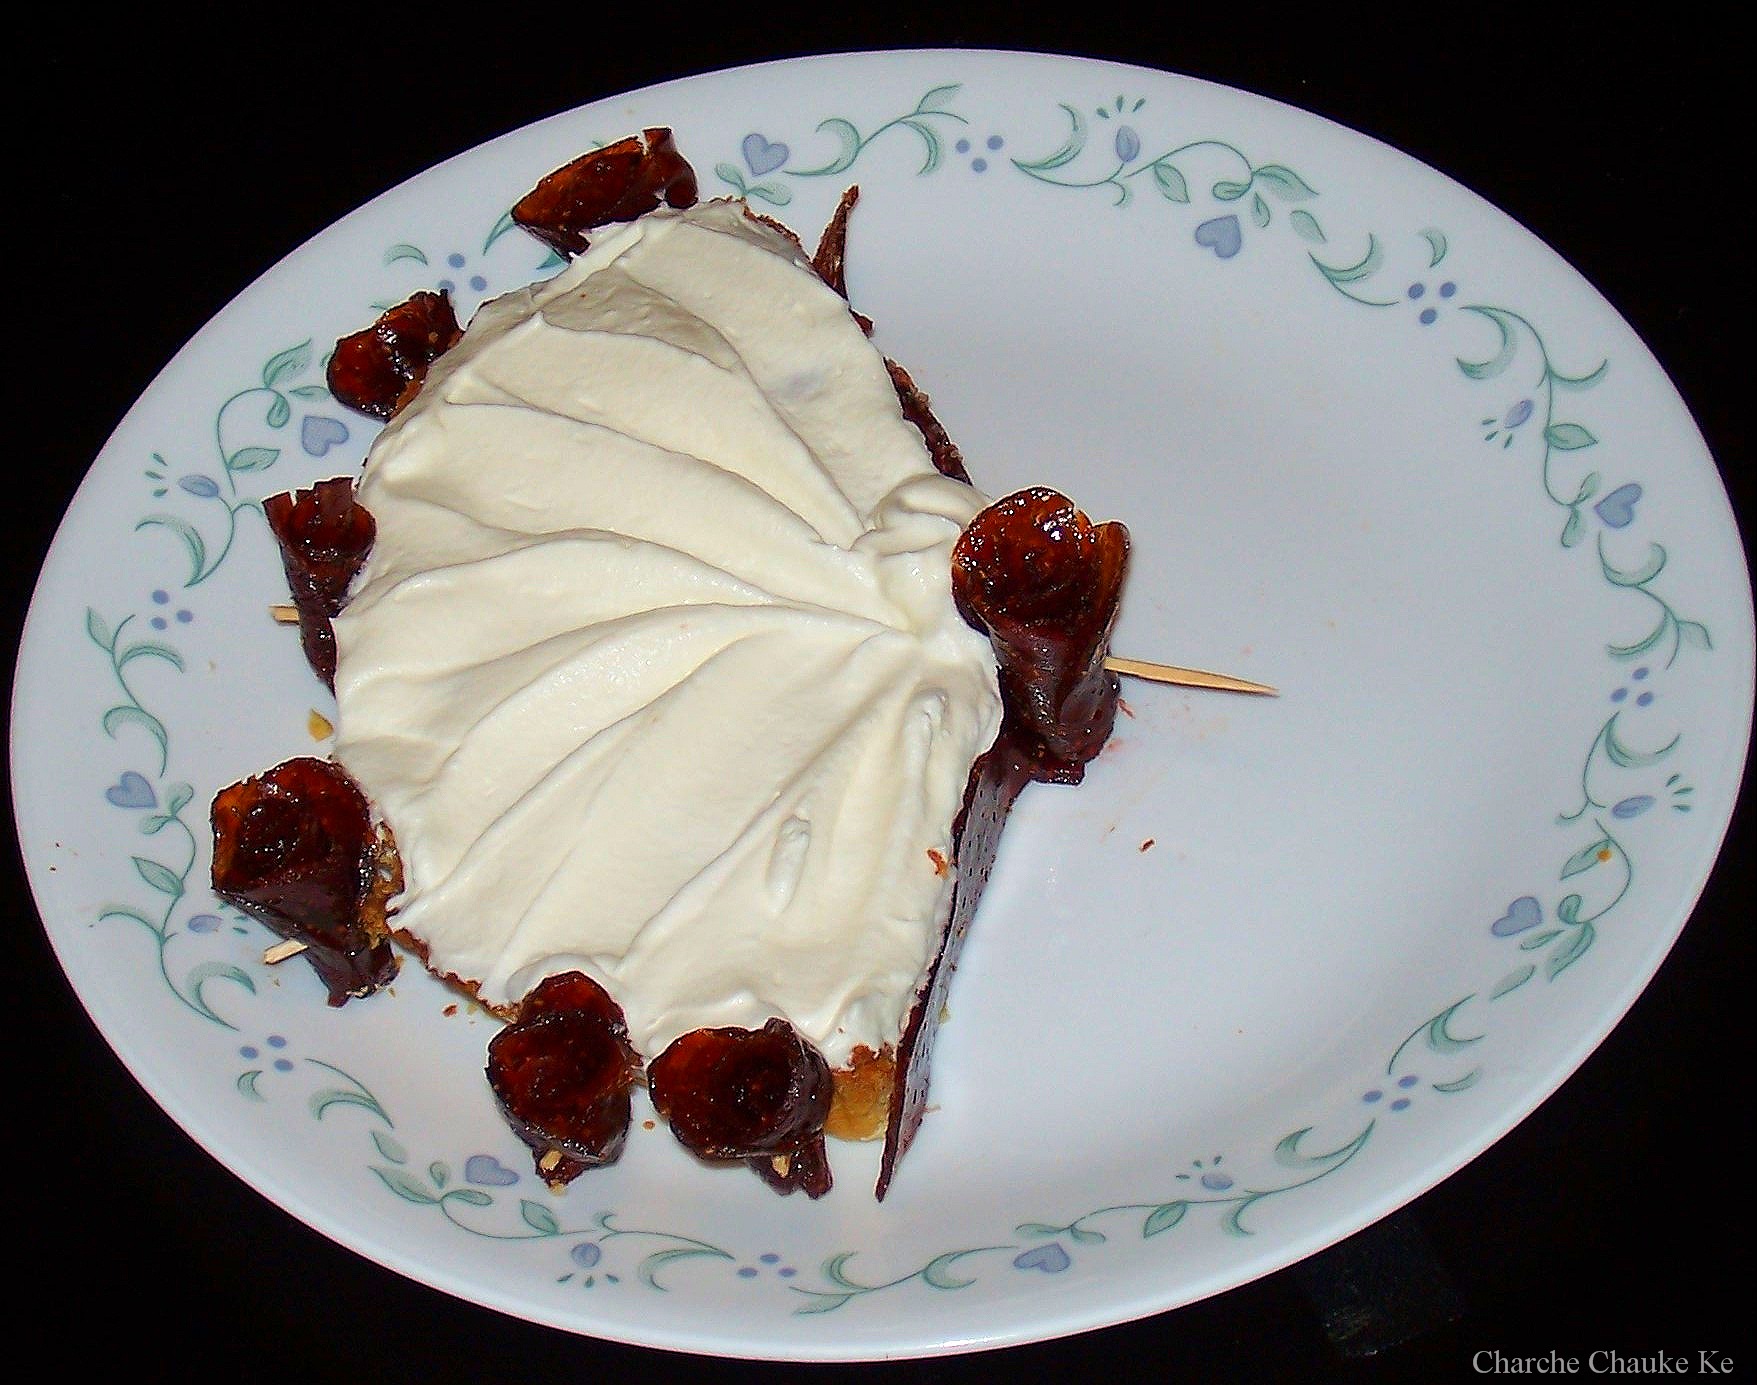
This is the only picture I was able to take…..took them to a friend’s potluck and forgot to take photos
All the Daring Bakers are headed to Canada for winter Olympics. Of course, I can’t fool you….no……we are not going….just celebrating 😉 by making nanaimo bars. OK, I also had never heard of these until………..”The January 2010 Daring Bakers’ challenge was hosted by Lauren of Celiac Teen. Lauren chose Gluten-Free Graham Wafers and Nanaimo Bars as the challenge for the month.”
Nanaimo Bars are a classic Canadian dessert created in none other than Nanaimo, British Colombia. In case you were wondering, it’s pronounced Nah-nye-Moh. These bars have 3 layers: a base containing graham crackers, cocoa, coconut and nuts, a middle custard layer, and a topping of chocolate. They are extremely rich and available almost everywhere across the country.
Lauren wanted us to bake the Graham Crackers gluten free. I used all whole wheat pastry flour (atta) instead of the gluten free flours as I am too lazy. These are absolutely divine. You will not want to buy store bought after trying these out. Superlative praises for these graham crackers. I stopped buying Indian Glucose biscuits long long back because of Trans fats. These graham crackers will certainly fill that craving. Please visit Celiac Teen or the other daring bakers this month for some great gluten free versions.
Recipe Source: Graham Wafers — 101 Cookbooks (http://www.101cookbooks.com/archives/000126.html) I adapted it to be gluten-free. The adapted recipe is below.
Nanaimo Bars — City of Nanaimo (http://www.nanaimo.ca/EN/main/visitors/NanaimoBars.html)
The Recipe:
Preparation time:
• Graham Wafers: 30 to 45 minutes total active prep, 2 ½ hours to overnight and 45 minutes inactive prep.
• Nanaimo Bars: 30 minutes.
Equipment required:
• Food Processor
• Bowls
• Parchment paper or silpats
• Cookie sheets
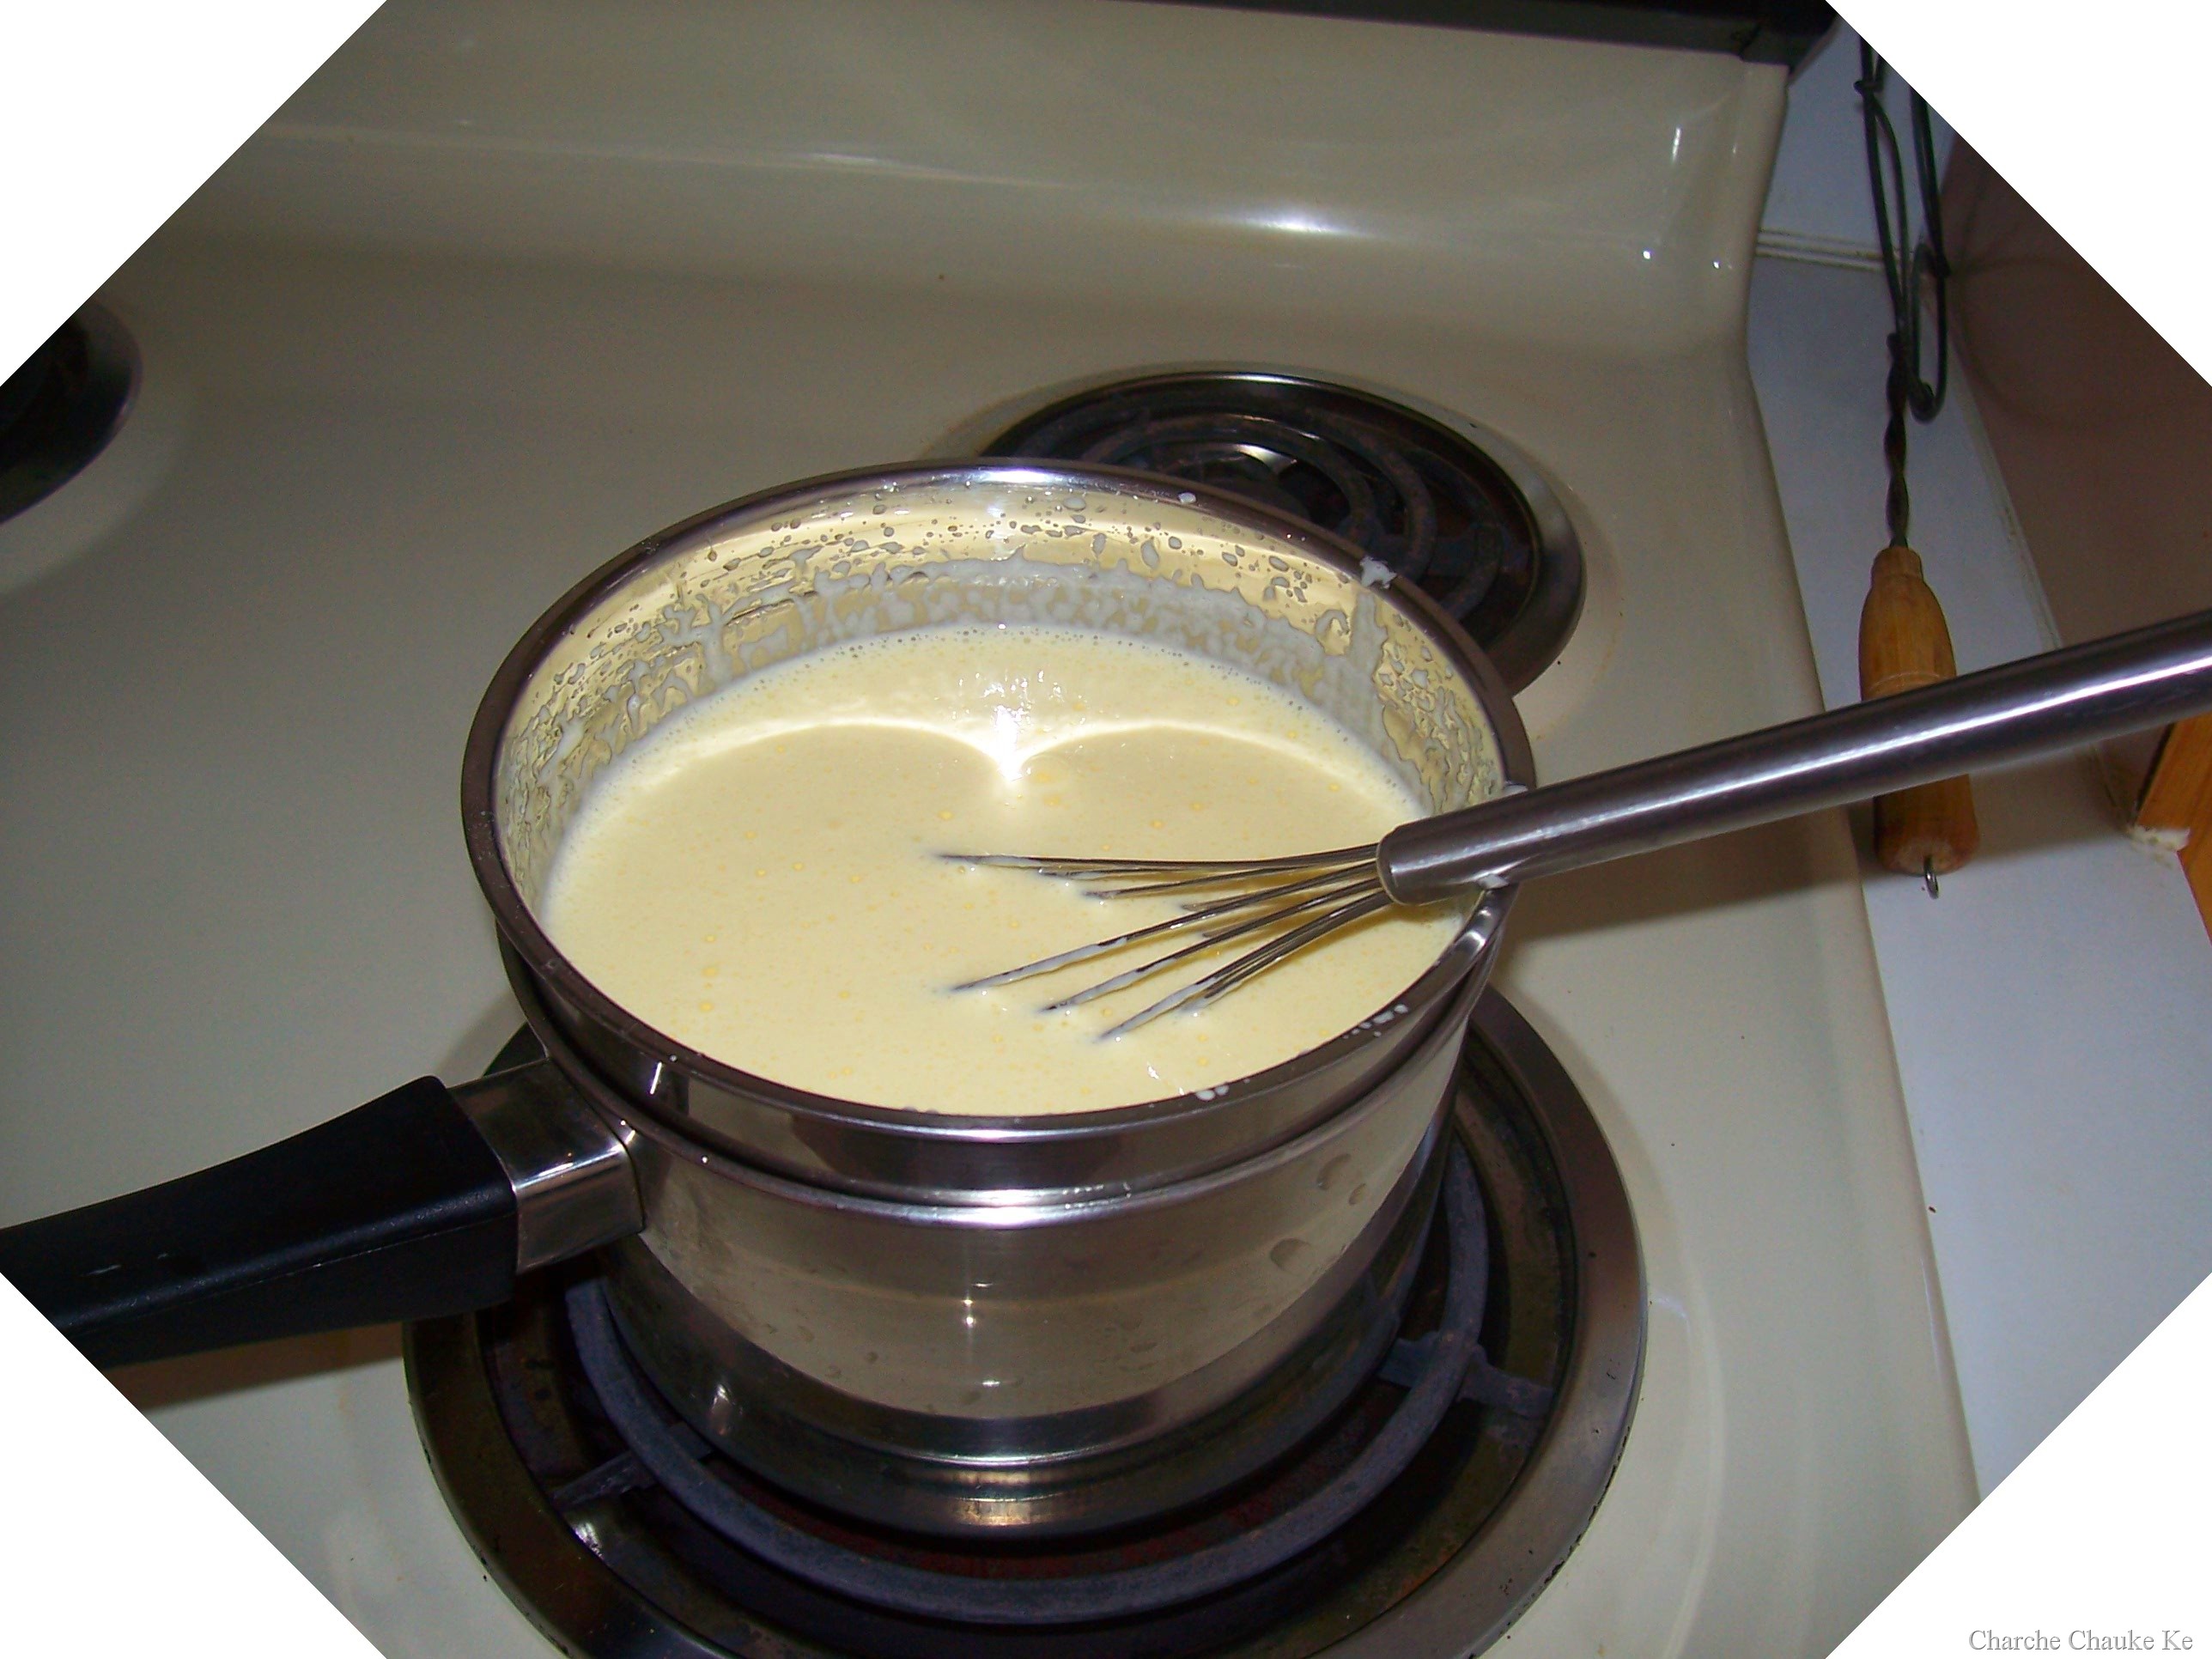
• Double boiler or pot and heatproof bowl
• 8 by 8 inch square pan
• Hand mixer or stand mixer (You may use a wooden spoon, but this makes it much easier!)
• Saucepan
- For Graham Wafers
Ingredients
2 1/2 cups + 2 Tbsp. Whole wheat pastry flour (atta)
1 cup (200 g) (7.1 ounces) Dark Brown Sugar, Lightly packed
1 teaspoon (5 mL) Baking soda
3/4 teaspoon (4 mL ) Kosher Salt
7 tablespoons (100 g) (3 ½ ounces) Unsalted Butter (Cut into 1-inch cubes and frozen)
2 Tbsp. Honey, Mild-flavored such as clover. - 3 Tbsp. Molasses
5 tablespoons (75 mL) Whole Milk
2 tablespoons (30 mL) Pure Vanilla Extract
Directions:
1. In the bowl of a food processor fitted with a steel blade, combine the flours, brown sugar, baking soda, and salt. Pulse on low to incorporate. Add the butter and pulse on and off, until the mixture is the consistency of a coarse meal. If making by hand, combine aforementioned dry ingredients with a whisk, then cut in butter until you have a coarse meal. No chunks of butter should be visible.
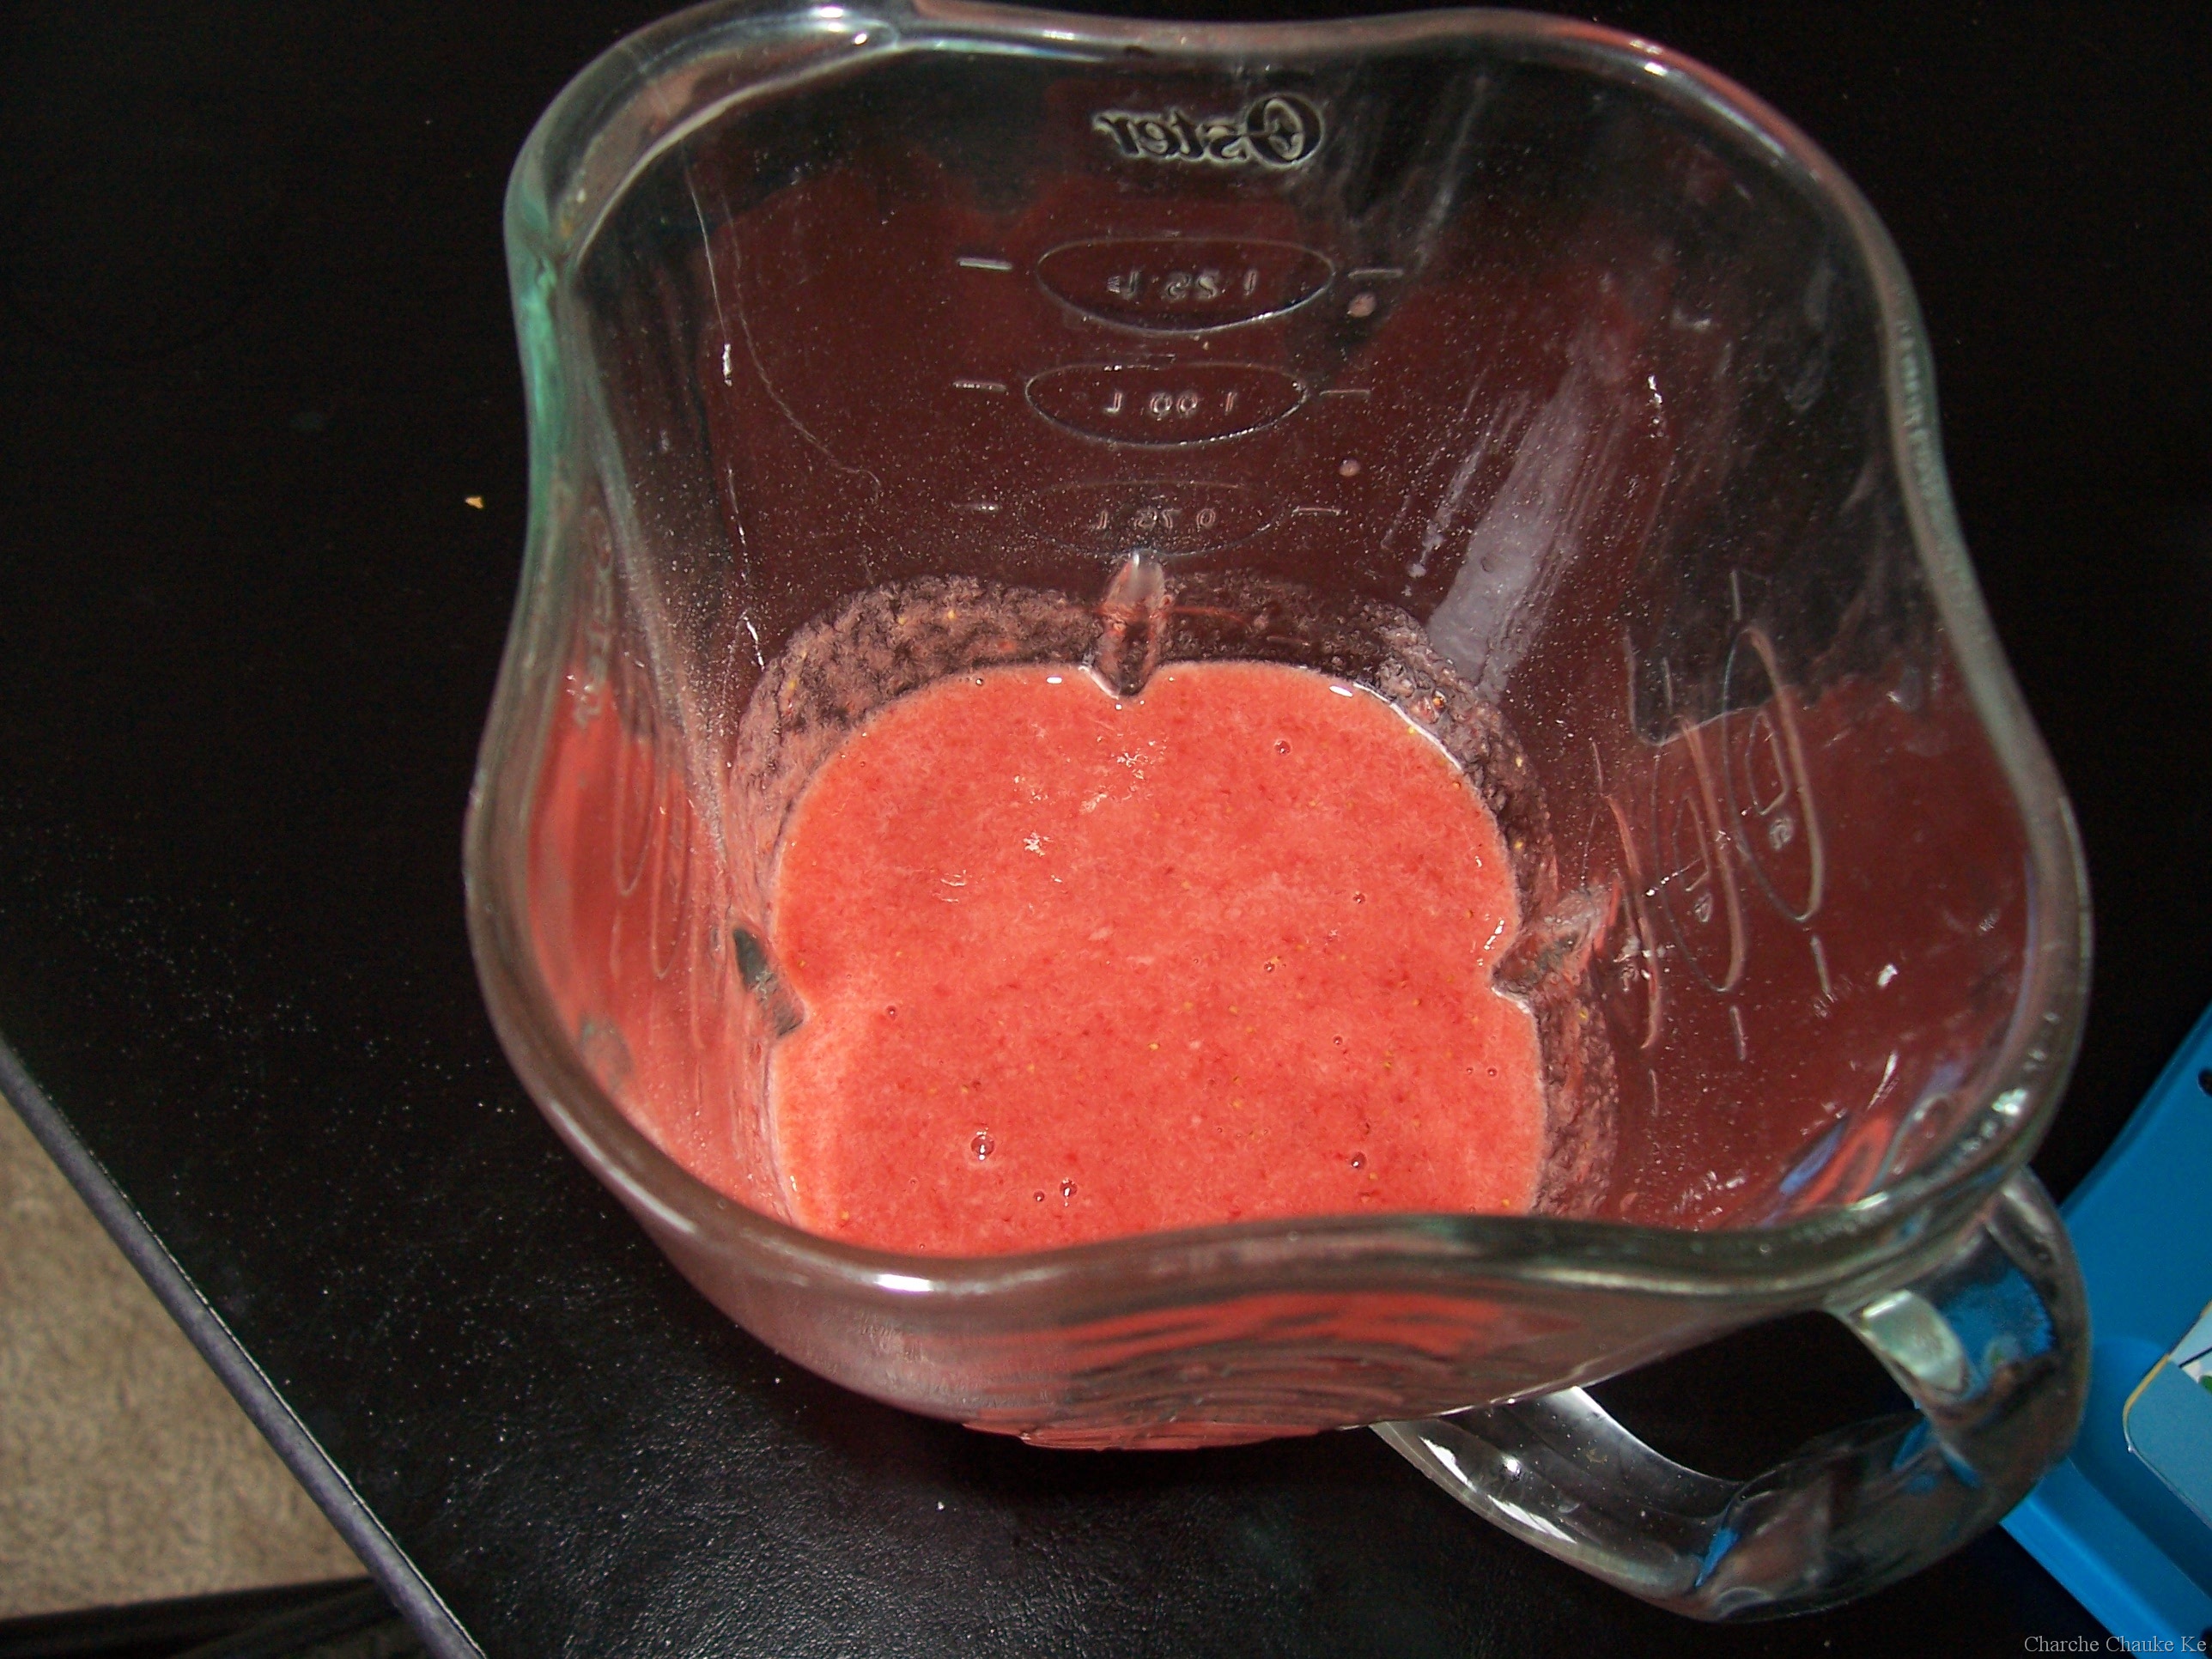
2. In a small bowl or liquid measuring cup, whisk together the honey, molasses, milk and vanilla. Add to the flour mixture until the dough barely comes together. It will be very soft and sticky.
3. Turn the dough onto a surface well-floured with atta and pat the dough into a rectangle about 1 inch thick. Wrap in plastic and chill until firm, about 2 hours, or overnight.
4. Divide the dough in half and return one half to the refrigerator. Sift an even layer of whole wheat pastry flour onto the work surface and roll the dough into a long rectangle, about 1/8 inch thick. The dough will be quite sticky, so flour as necessary. Cut into 4 by 4 inch squares. Gather the scraps together and set aside. Place wafers on one or two parchment-lined baking sheets. Chill until firm, about 30 to 45 minutes. Repeat with the second batch of dough.
5. Adjust the rack to the upper and lower positions and preheat oven to 350 degrees Fahrenheit (180 degrees Celsius).
6. Gather the scraps together into a ball, chill until firm, and reroll. Dust the surface with more flour and roll out the dough to get a couple more wafers.
7. Prick the wafers with toothpick or fork, not all the way through, in two or more rows.
8. Bake for 25 minutes, until browned and slightly firm to the touch, rotating sheets halfway through to ensure even baking. Might take less, and the starting location of each sheet may determine its required time. The ones that started on the bottom browned faster.
9. When cooled completely, place enough wafers in food processor to make 1 ¼ cups (300 mL) of crumbs. Another way to do this is to place in a large ziplock bag, force all air out and smash with a rolling pin until wafers are crumbs.

Graham Crackers

We loved our graham crackers with some nutella and whipped topping……….Husband can’t have enough of it 🙂
Nanaimo Bars
Ingredients:
For Nanaimo Bars — Bottom Layer
1/2 cup (115 g) (4 ounces) Unsalted Butter
1/4 cup (50 g) (1.8 ounces) Granulated Sugar
5 tablespoons (75 mL) Unsweetened Cocoa
1 Large Egg, Beaten
1 1/4 cups (300 mL) (160 g) (5.6 ounces) Graham Wafer Crumbs (See previous recipe)
1/2 cup (55 g) (1.9 ounces) Almonds (Any type, Finely chopped)
1 cup (130 g) (4.5 ounces) Coconut unsweetened
For Nanaimo Bars — Middle Layer
1/2 cup (115 g) (4 ounces) Unsalted Butter
2 tablespoons and 2 teaspoons (40 mL) Heavy Cream
2 tablespoons (30 mL) Vanilla Custard Powder (Such as Bird’s. Vanilla pudding mix may be substituted.)
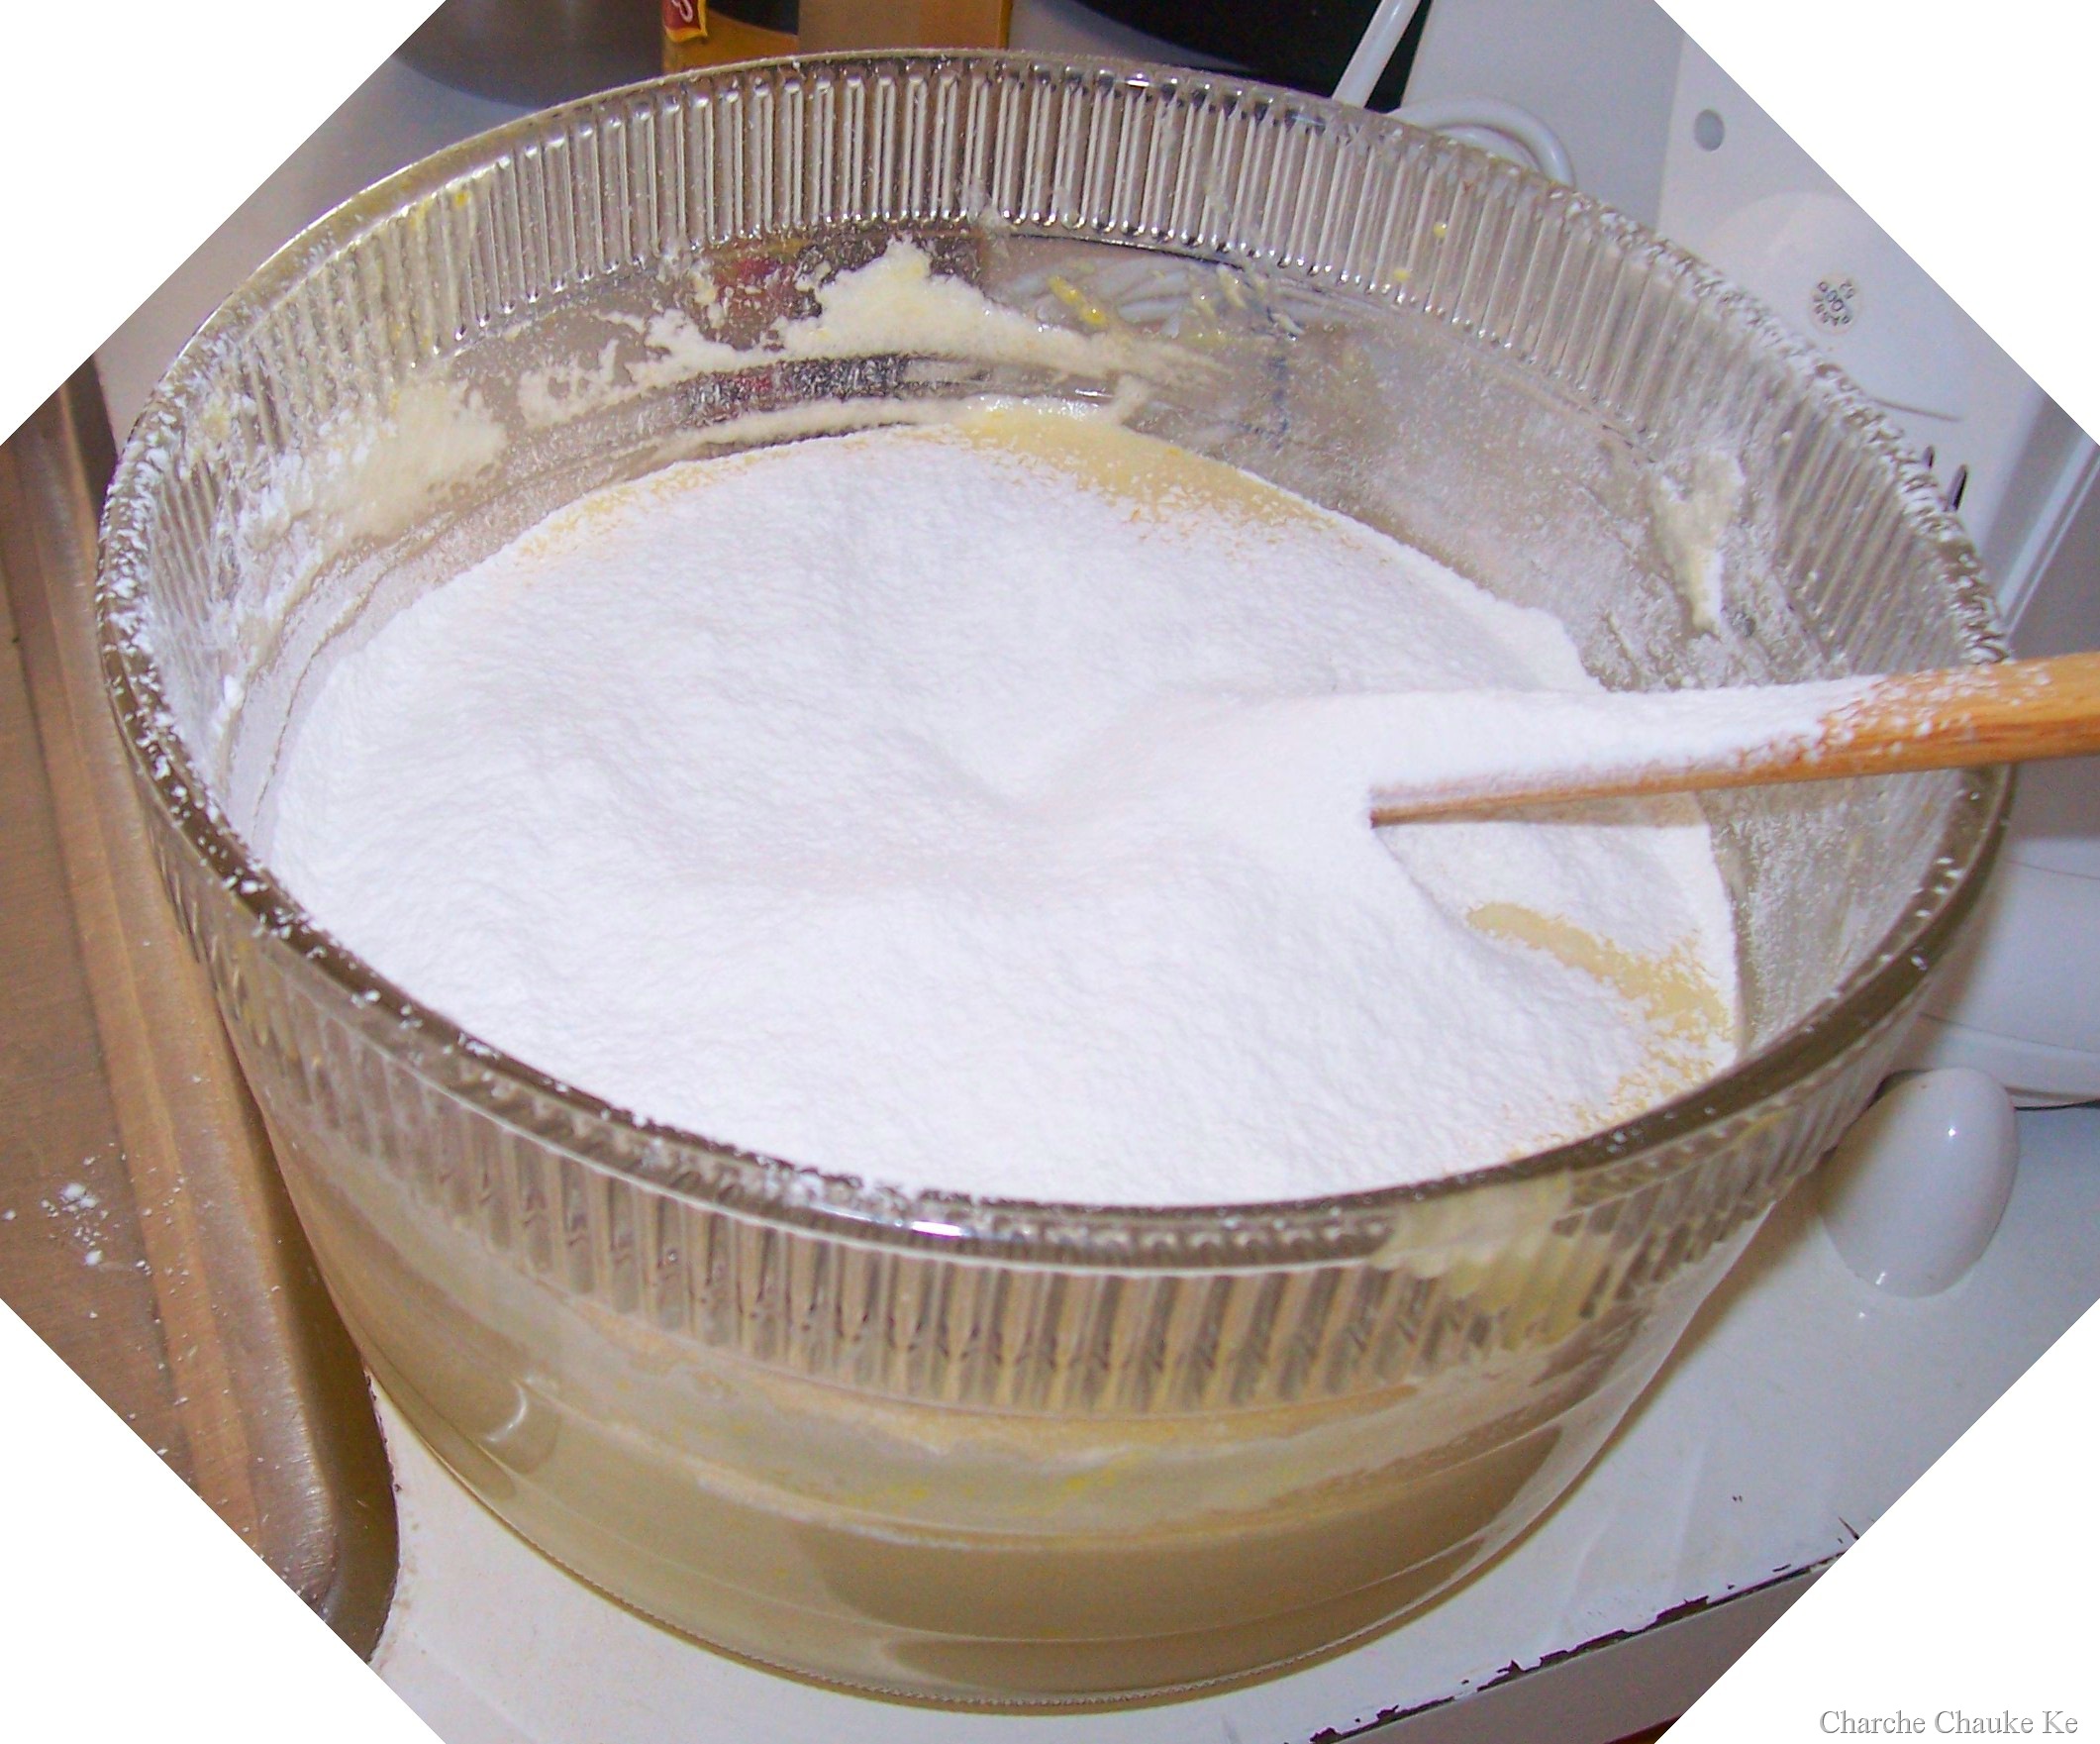
2 cups (254 g) (8.9 ounces) Icing Sugar
For Nanaimo Bars — Top Layer
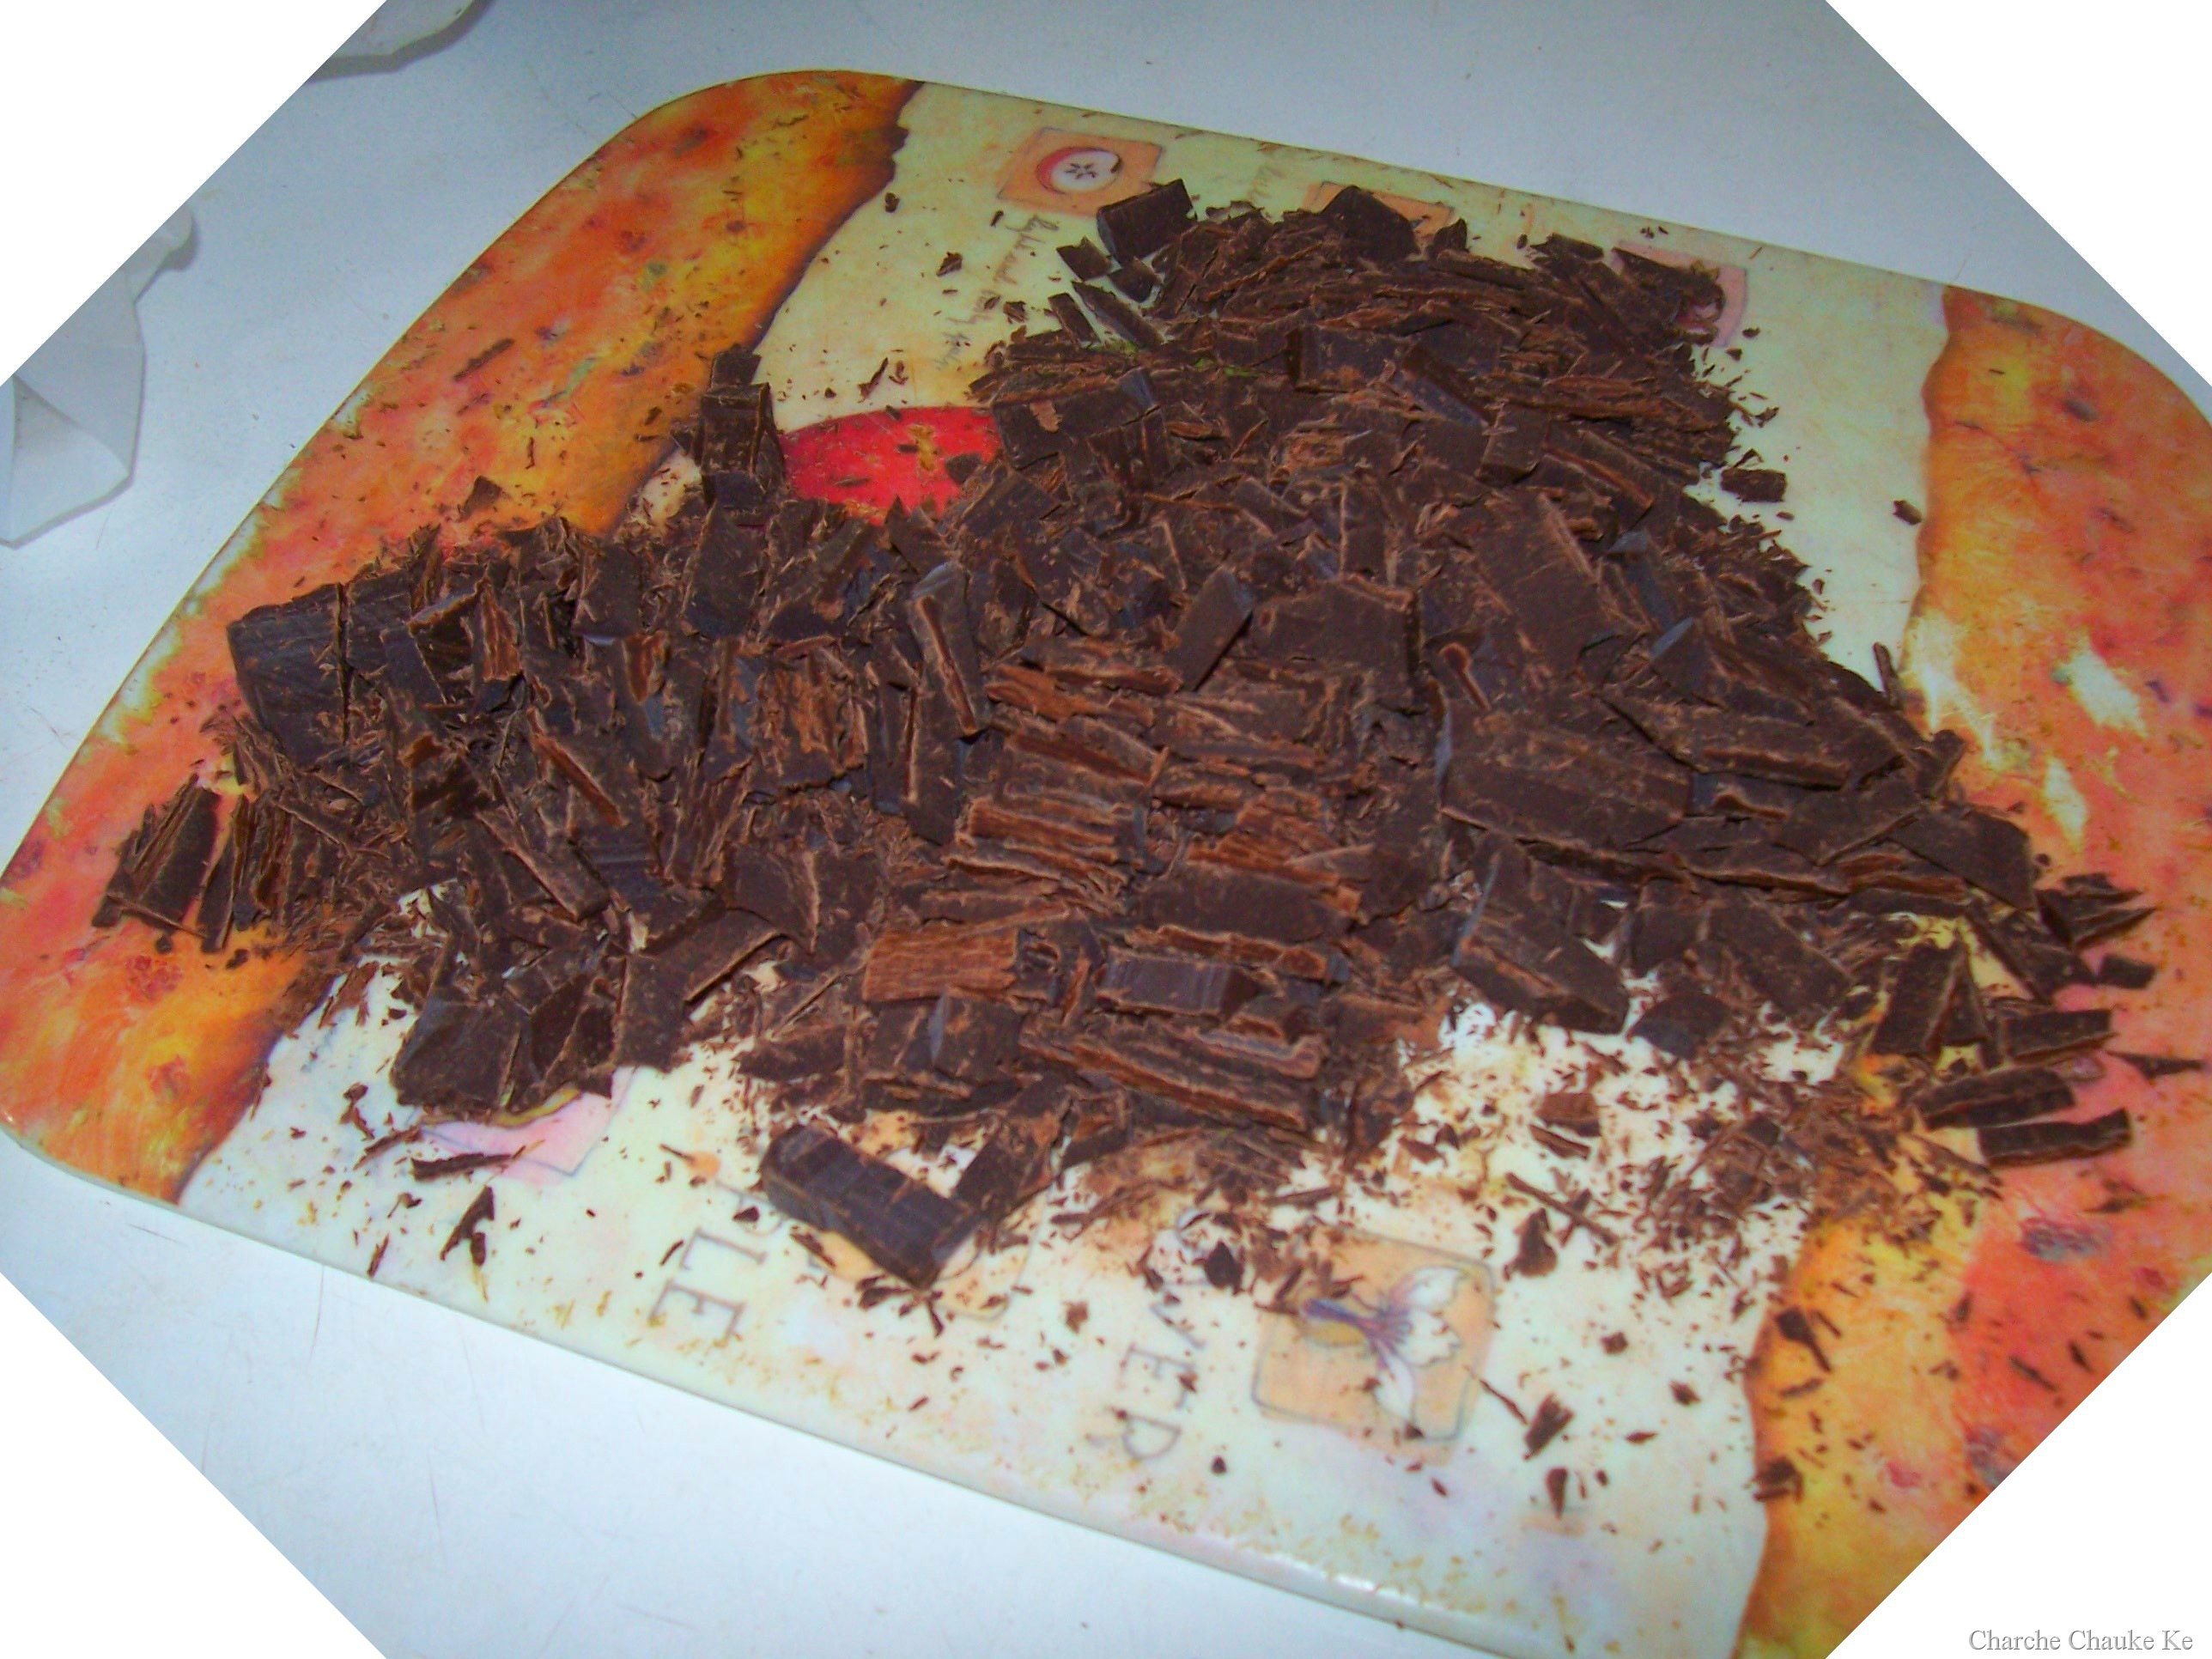
4 ounces (115 g) Semi-sweet chocolate
2 tablespoons (28 g) (1 ounce) Unsalted Butter
Directions:
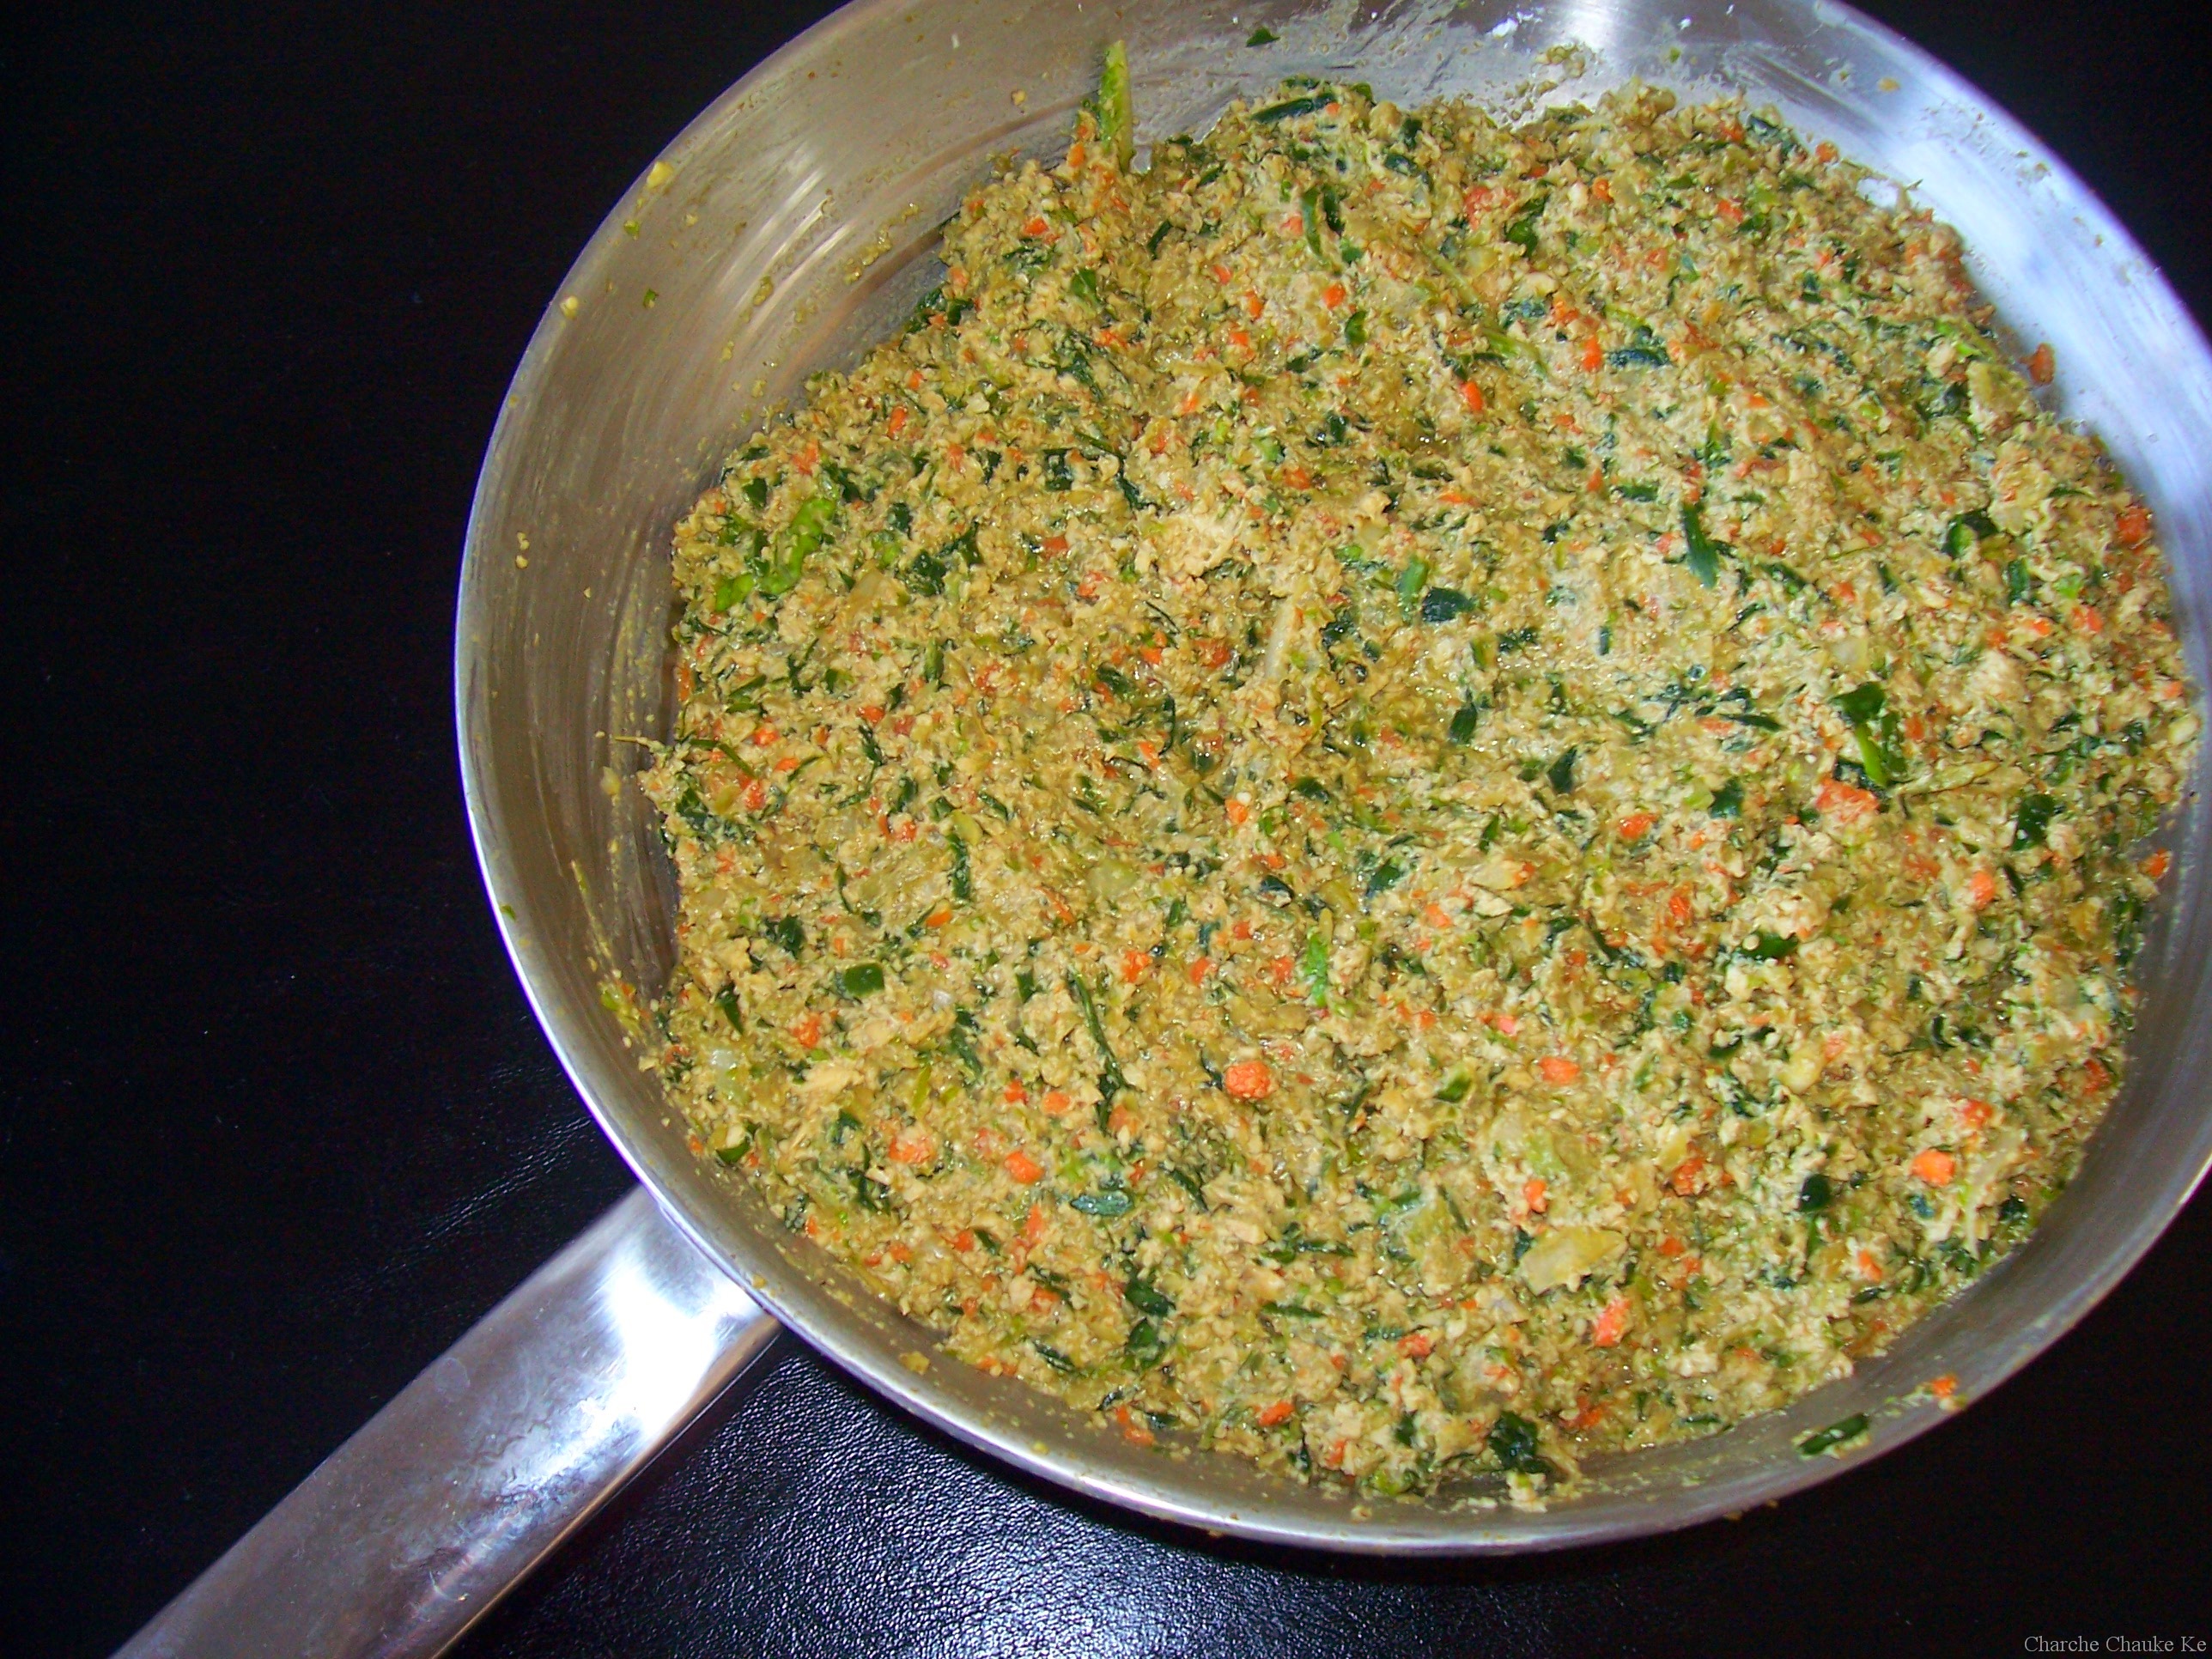
1. For bottom Layer: Melt unsalted butter, sugar and cocoa in top of a double boiler. Add egg and stir to cook and thicken. Remove from heat. Stir in crumbs, nuts and coconut. Press firmly into an ungreased 8 by 8 inch pan.
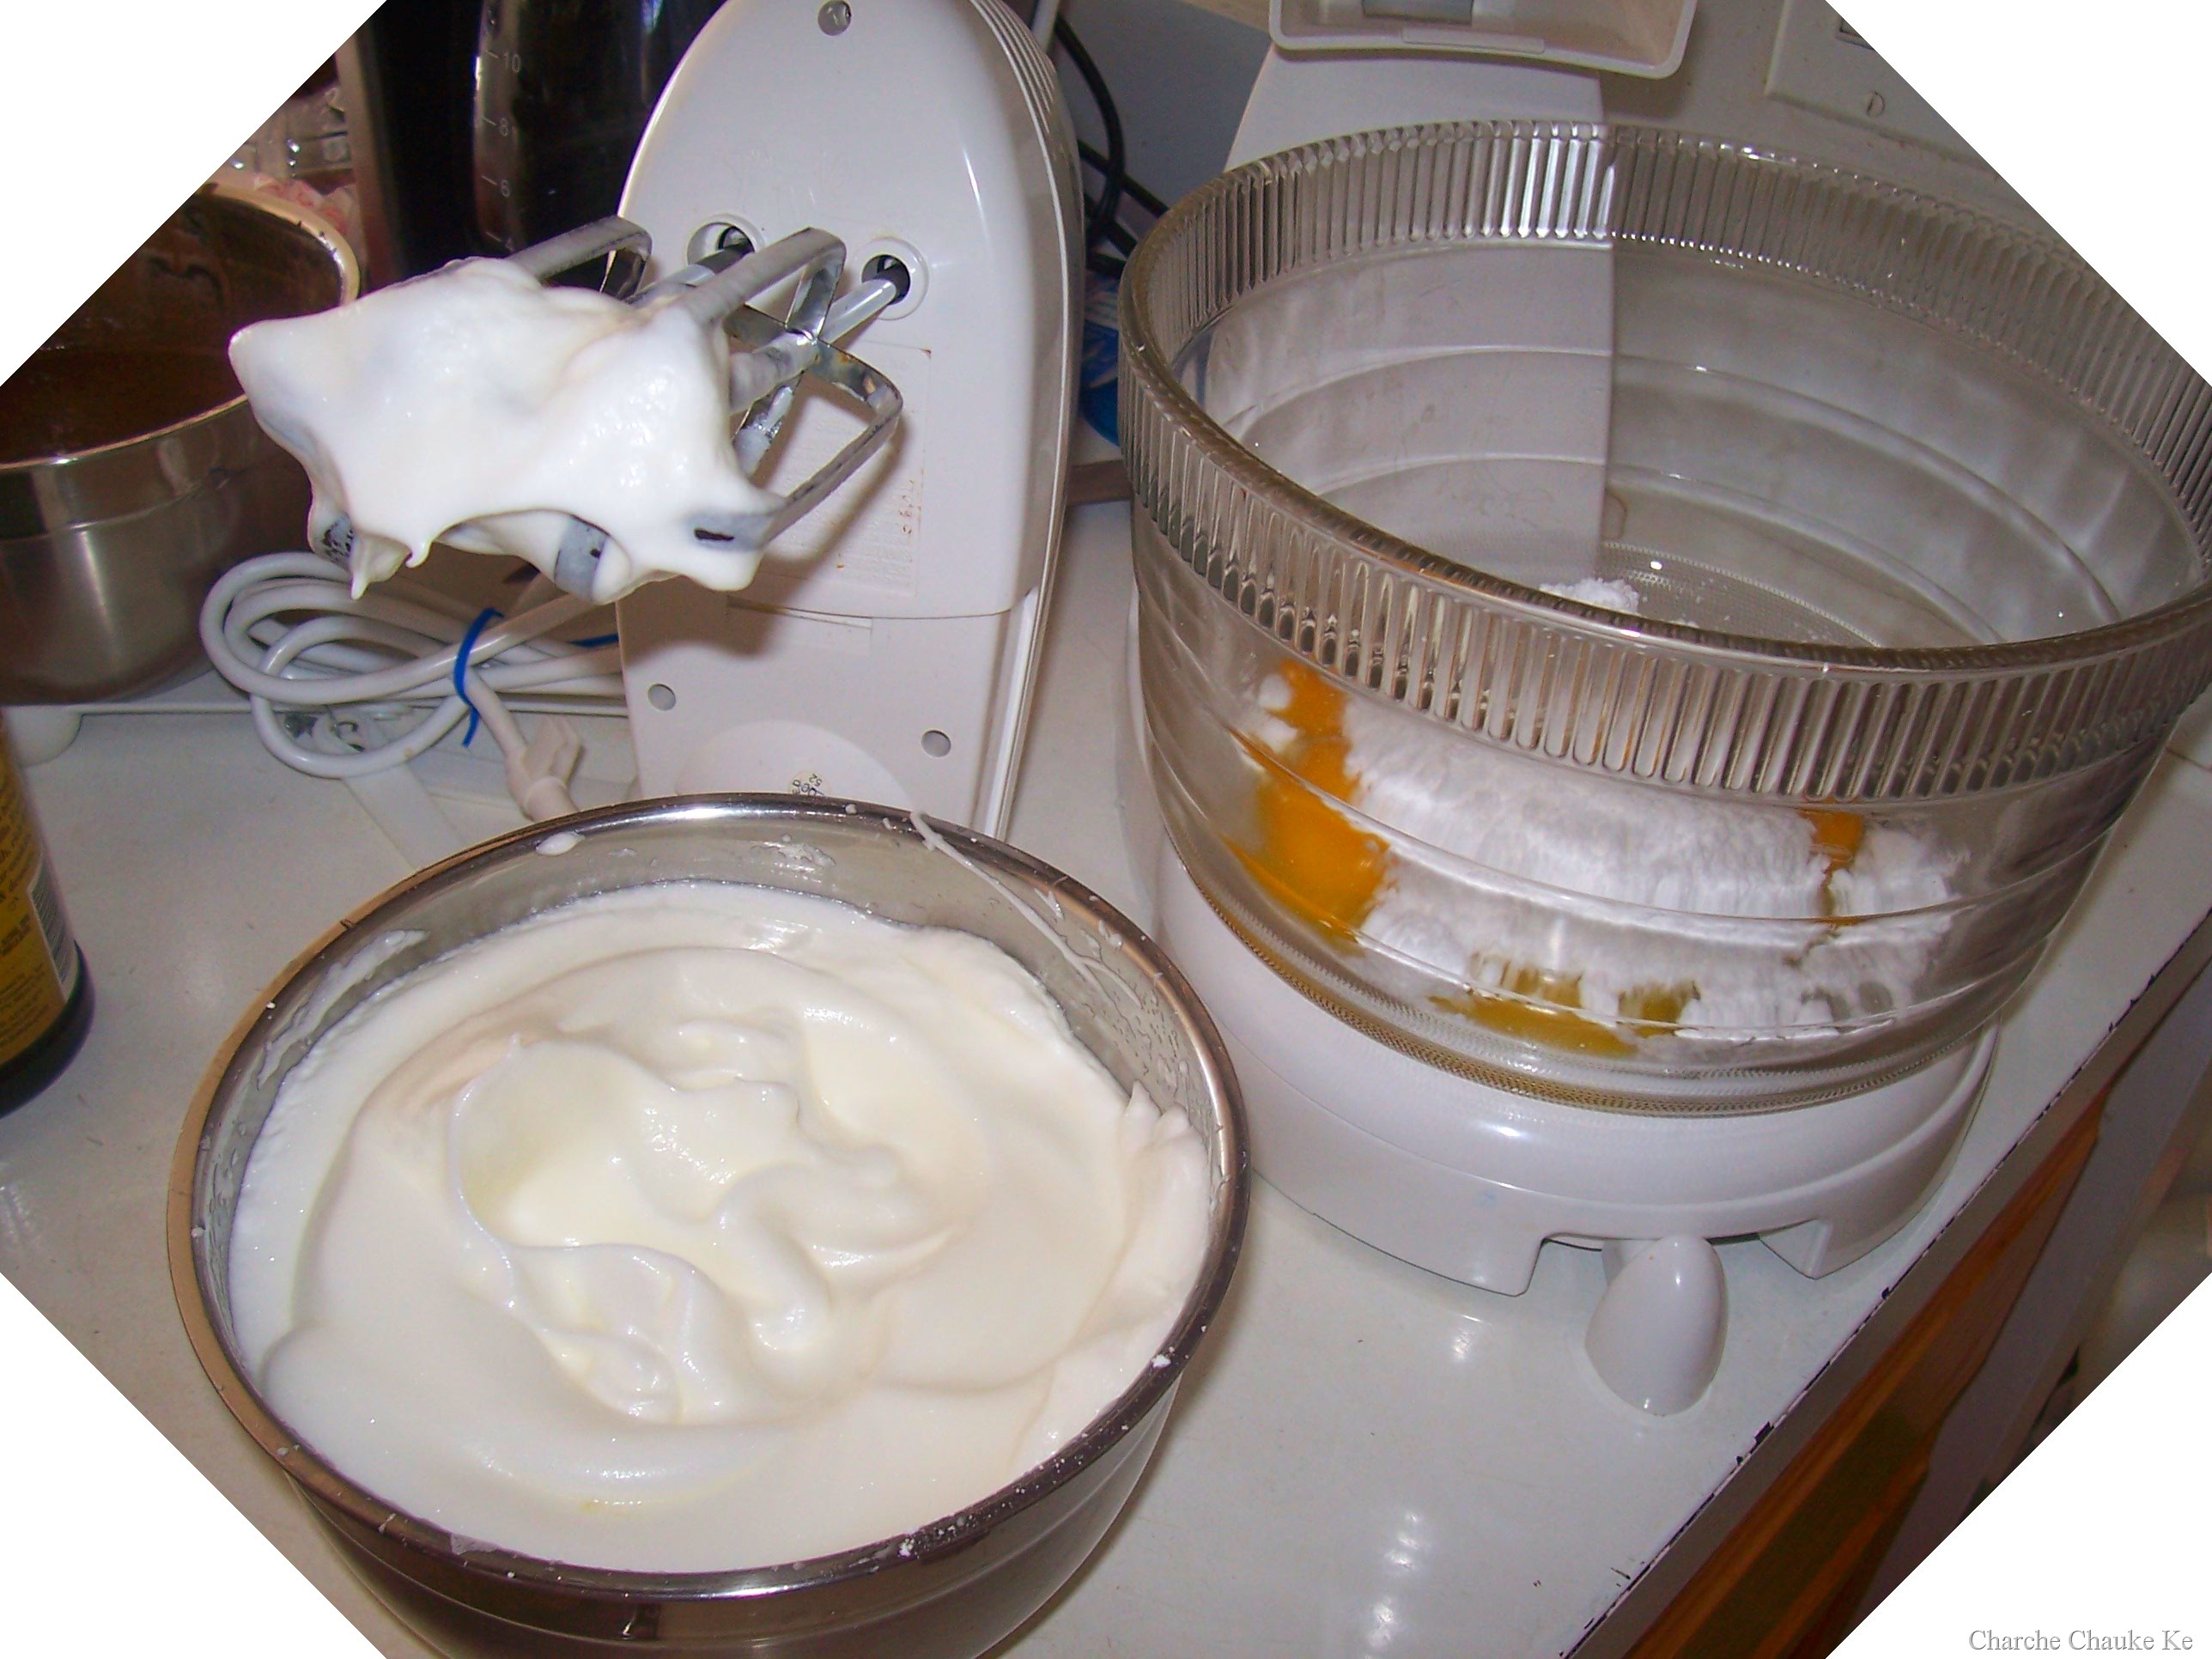
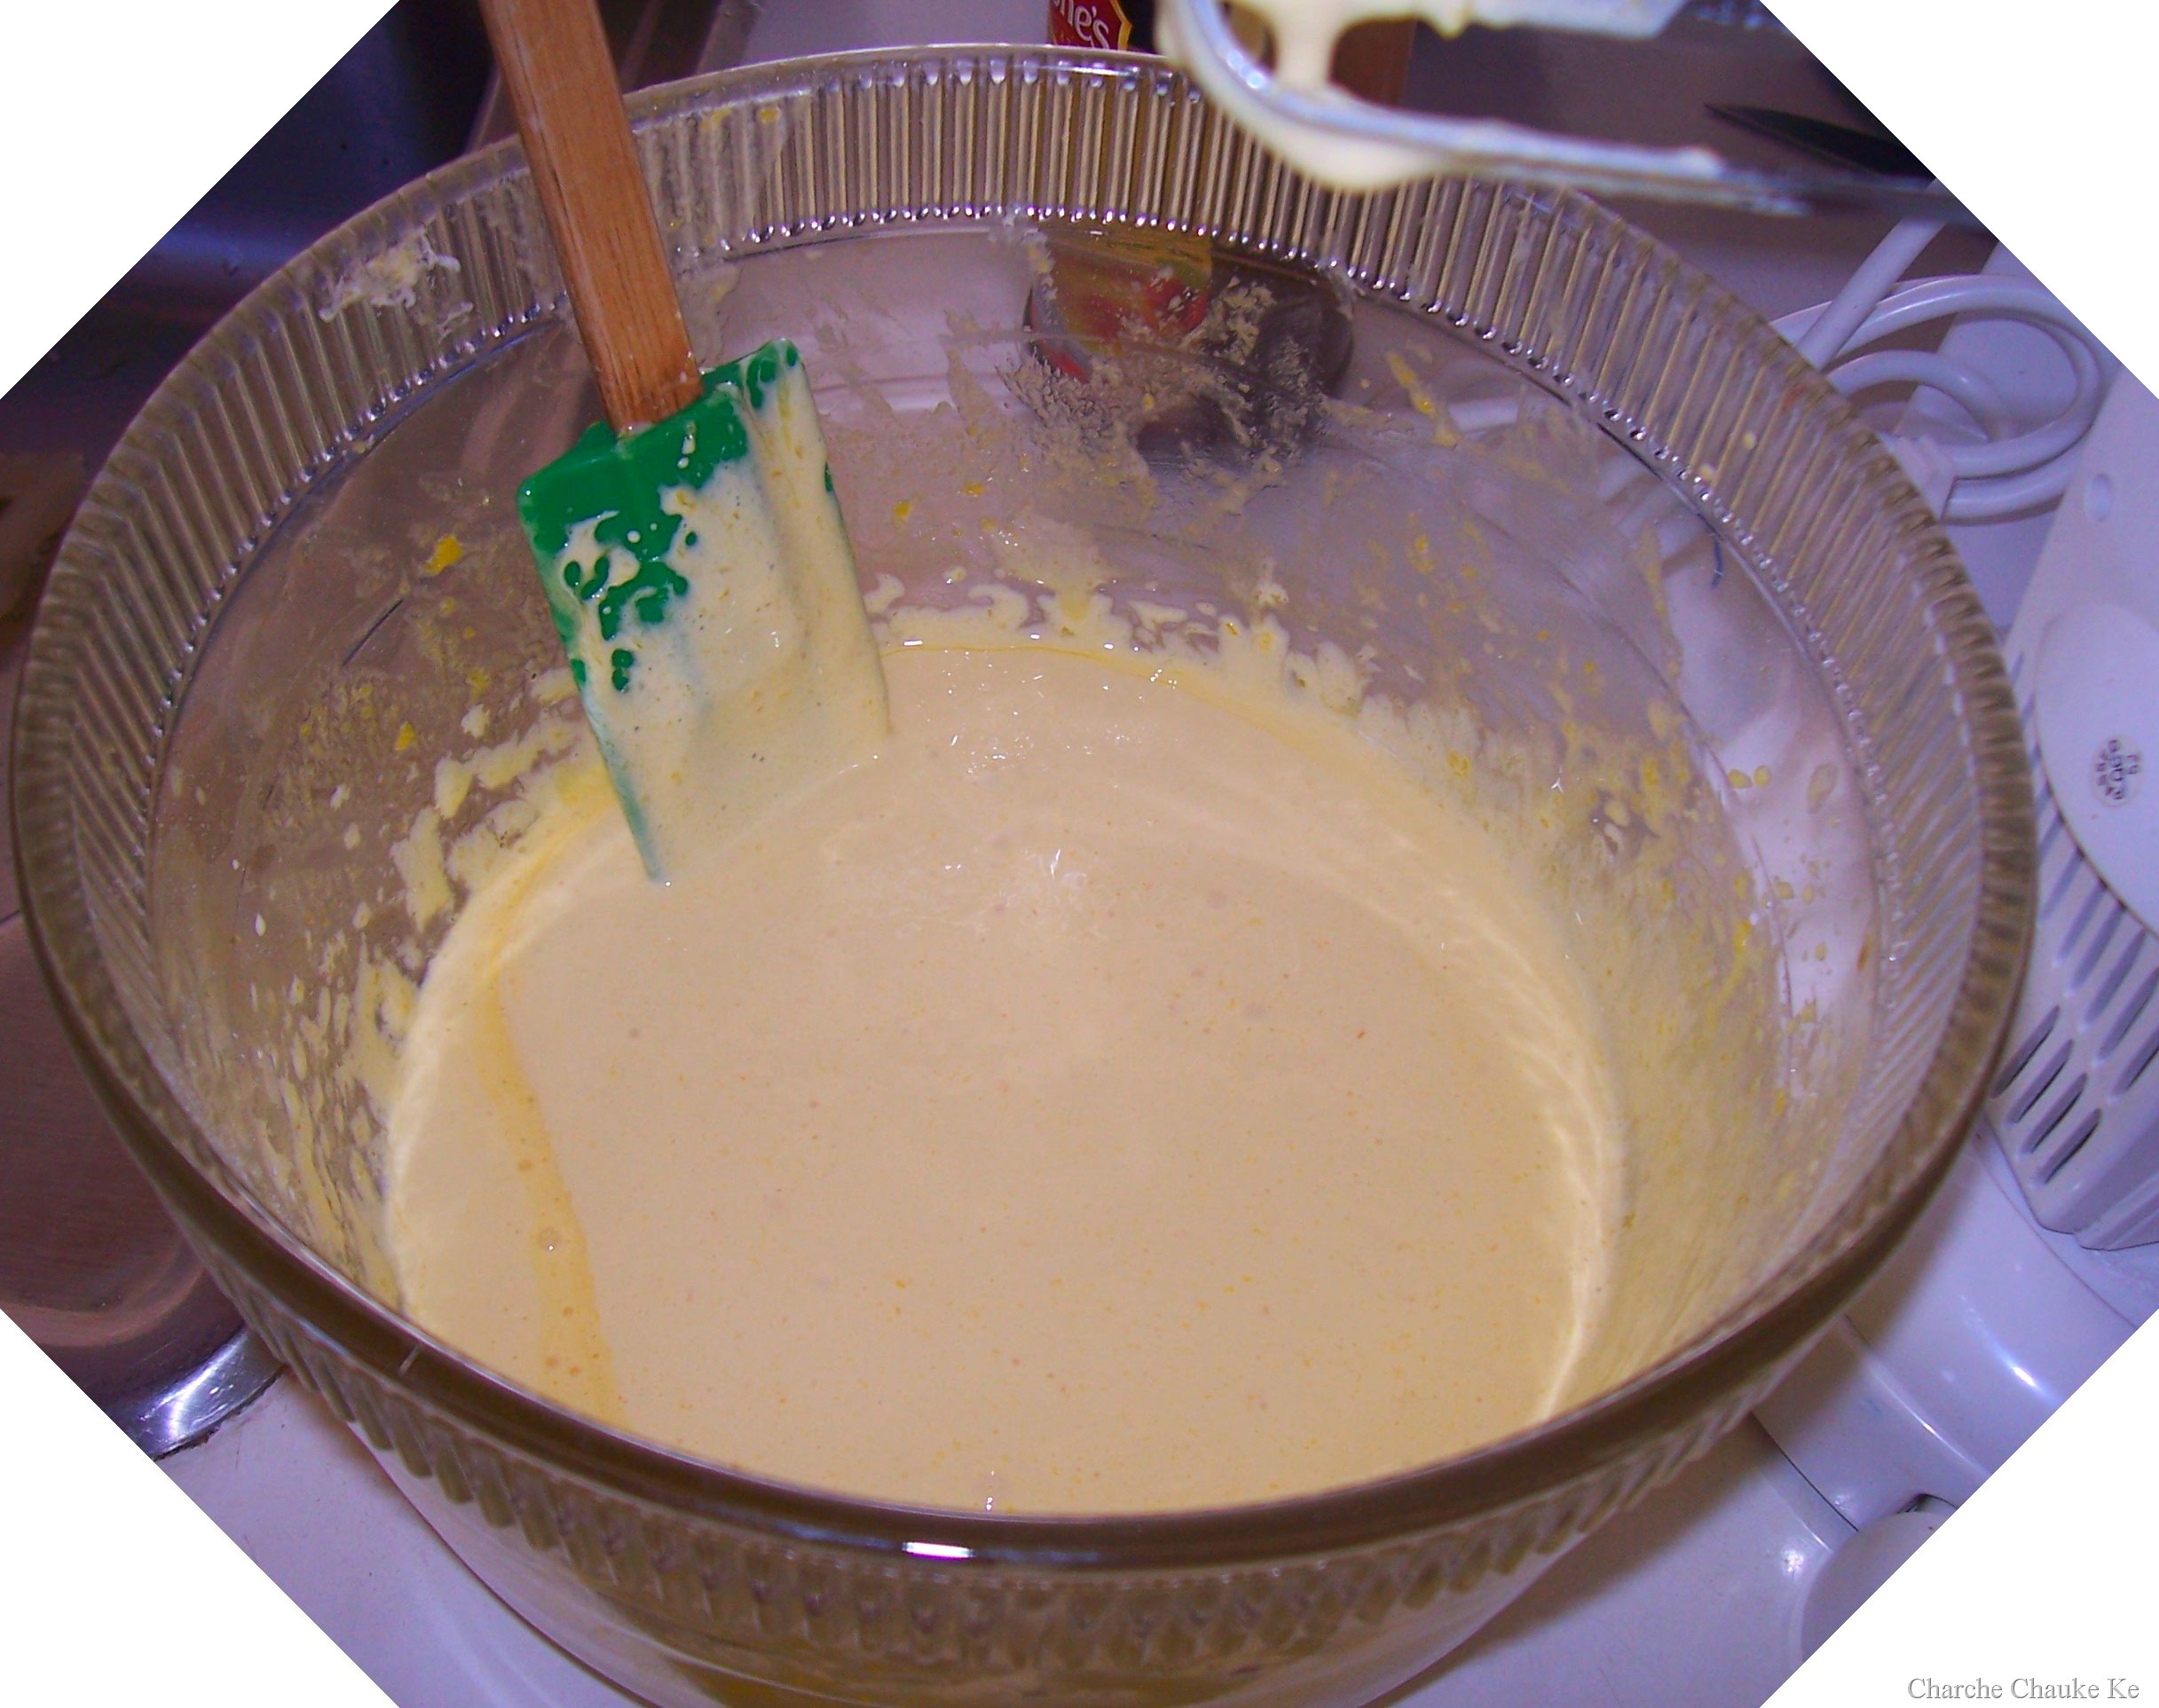
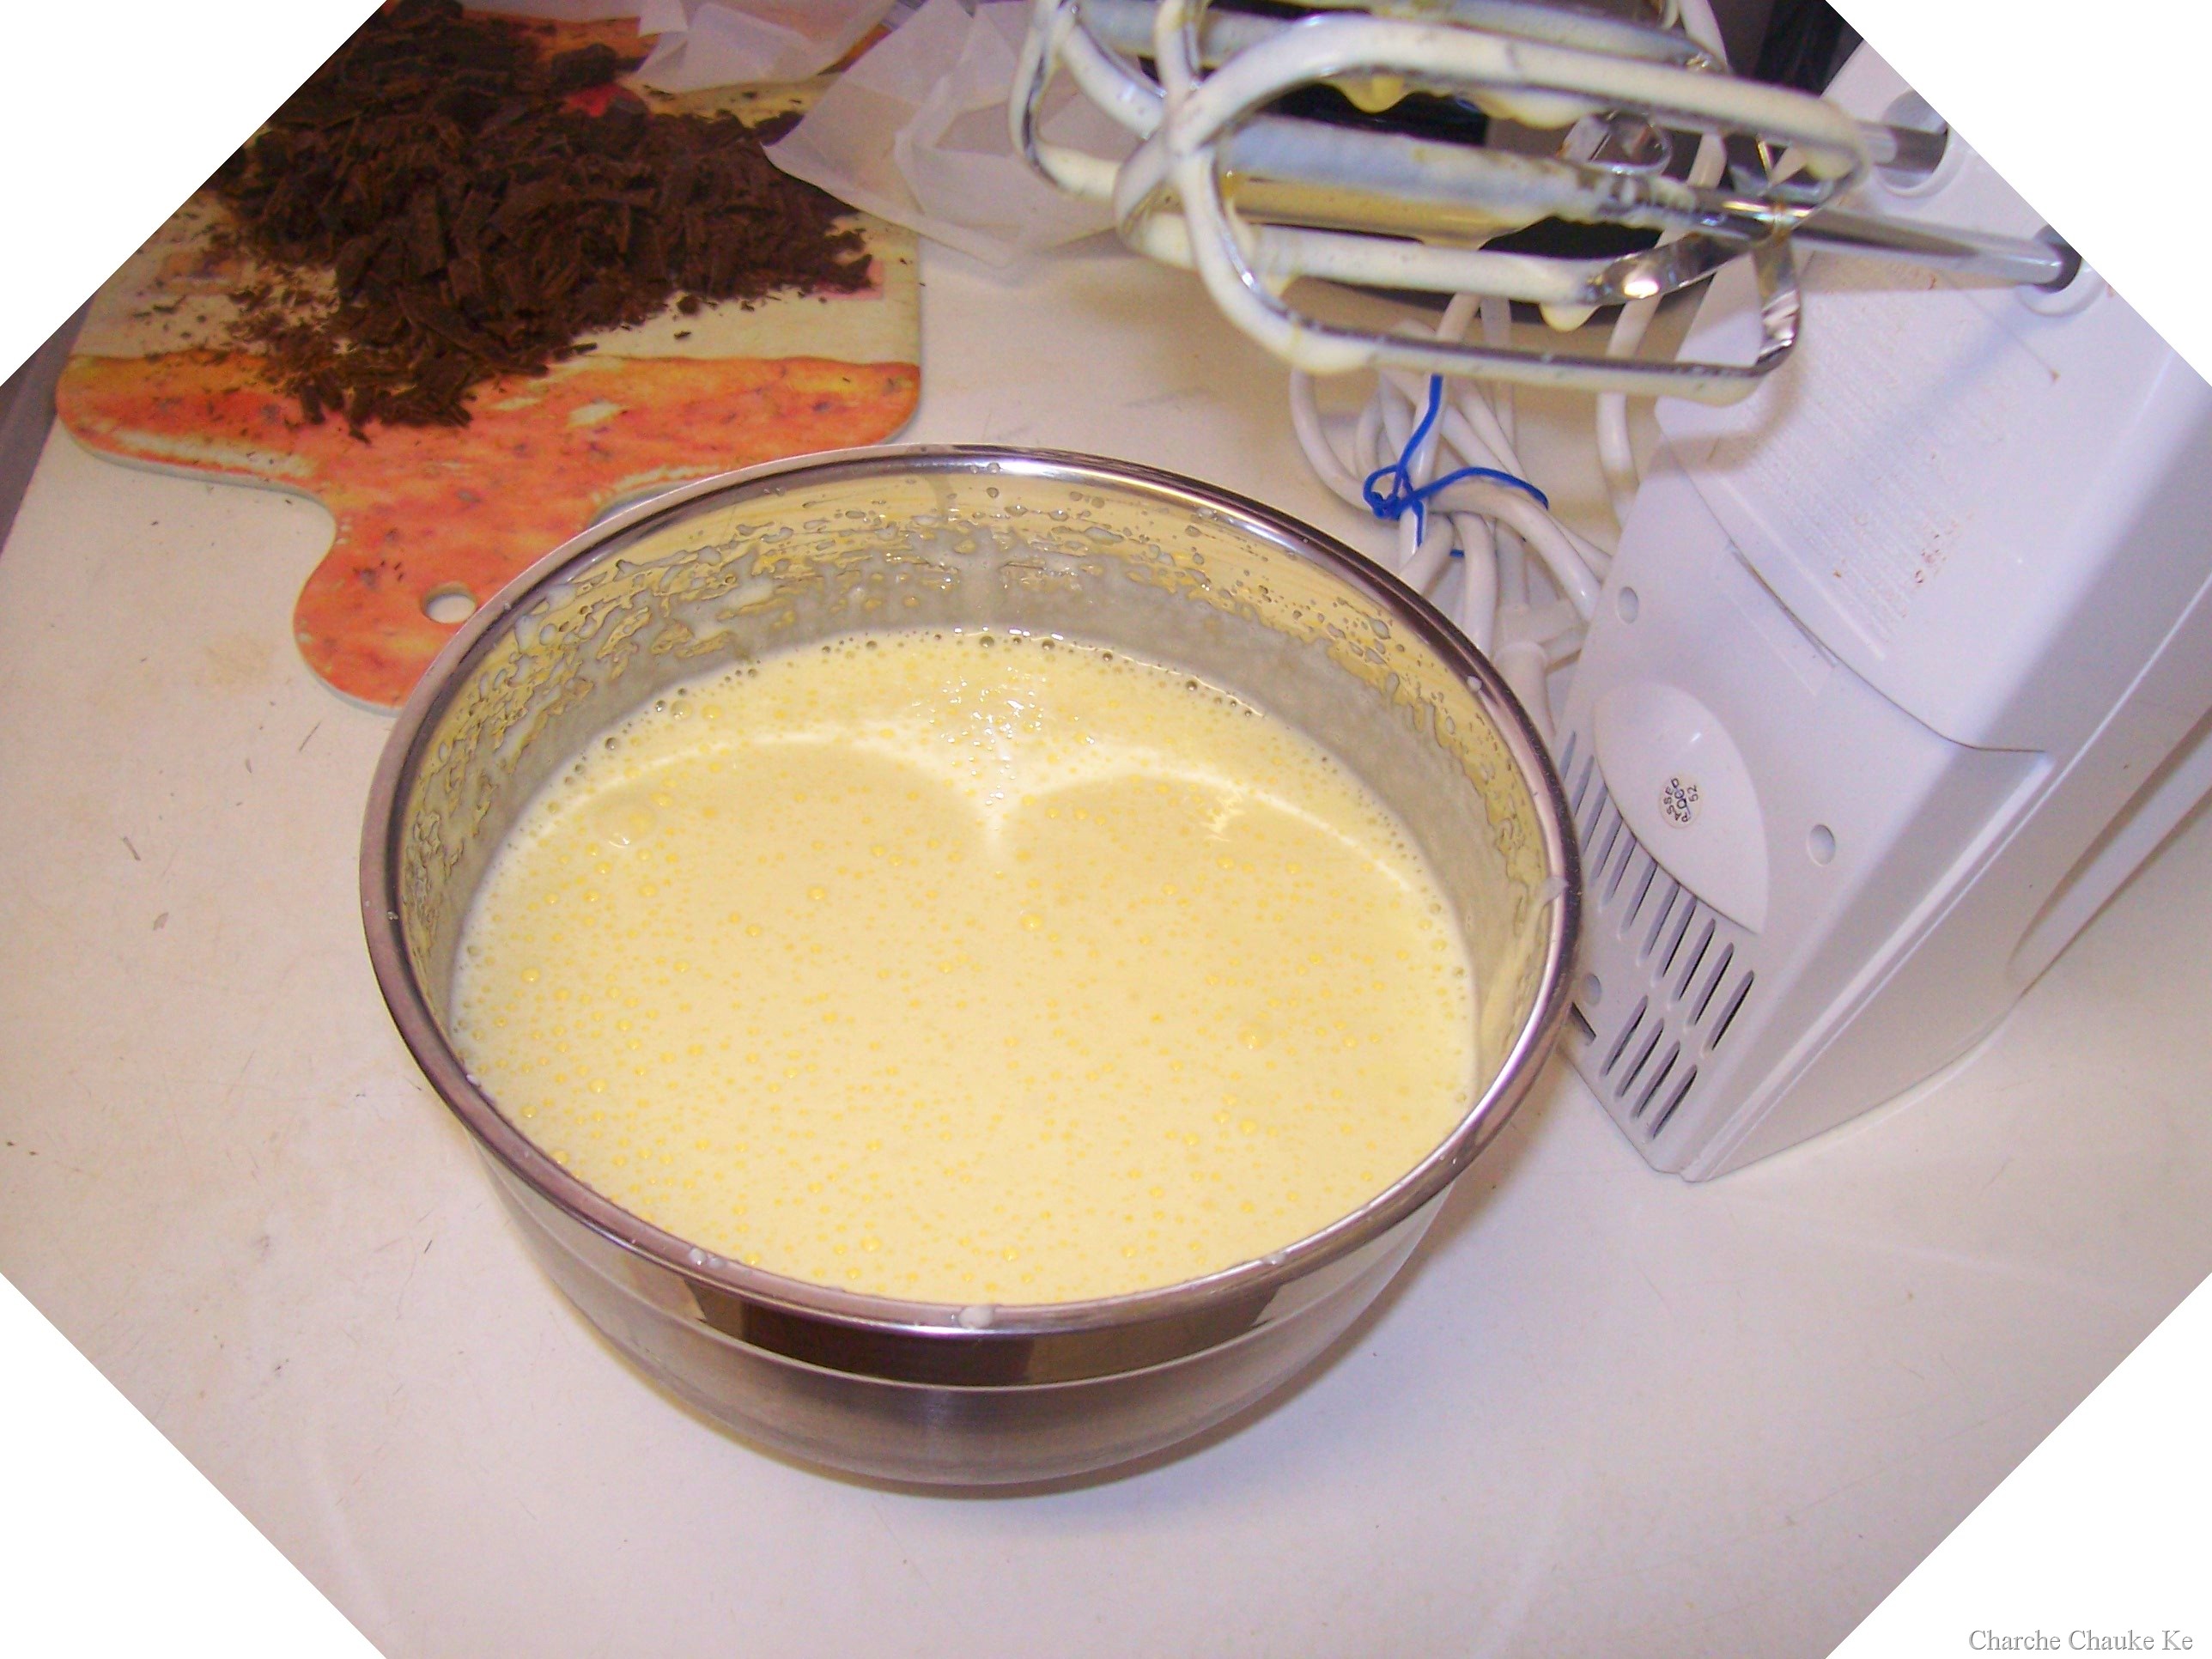
2. For Middle Layer: Cream butter, cream, custard powder, and icing sugar together well. Beat until light in colour. Spread over bottom layer.
3. For Top Layer: Melt chocolate and unsalted butter over low heat. Cool. Once cool, pour over middle layer and chill.

Making of the Nanaimo Bar………bottom layer
(This is the only photograph I have :-)) )
——————————-
My Tweaks to the recipe:
- Used whole wheat pastry flour (atta) for the crackers.
- Substituted molasses for some honey as I was out of honey.
- I made double the middle layer (mistake..) and double the chocolate (bring on more 🙂 )
Additional Information:
These bars freeze very well, so don’t be afraid to pop some into the freezer.
The graham wafers may be kept in an airtight container for up to 2 weeks. Mine lasted about that long.
If making the graham crackers with wheat, replace the gluten-free flours (tapioca starch, sweet rice flour, and sorghum flour) with 2 ½ cups plus 2 tbsp of all-purpose wheat flour, or wheat pastry flour. Watch the wheat-based graham wafers very closely in the oven, as they bake faster than the gluten-free ones, sometimes only 12 minutes OR even 10.
For the Nanaimo Bars, if making with wheat, replace the gluten-free graham wafer crumbs with equal parts wheat graham wafer crumbs!
Information on Celiac Disease: http://www.mayoclinic.com/health/celiac-disease/DS00319
Information on Vancouver 2010: http://www.vancouver2010.com/
City of Nanaimo: http://www.nanaimo.ca/EN/index.html
Gluten Free Flour Information: http://glutenfreemommy.com/gluten-free-grains-101-the-best-flour-blend/
Video on making Nanaimo bars: http://www.youtube.com/watch?v=x5aqa6R1jIM&feature=fvsr
Recipe and video for Vegan Nanaimo Bars (you didn’t think I’d leave you guys out?): http://www.everydaydish.tv/index.php?page=recipe&recipe=159
Recipe for gluten-free and vegan Graham Wafers: http://www.thesensitivepantry.com/the-sensitive-pantry/2009/8/3/grahams-…
Nanaimo bars disappointed me because of the middle layer. A bit too sweet. I will try other buttercreams or some custard as filling the next time. The husband was pretty impressed with the texture of the middle layer though and wanted me to just follow the recipe and make the amount of filling given.
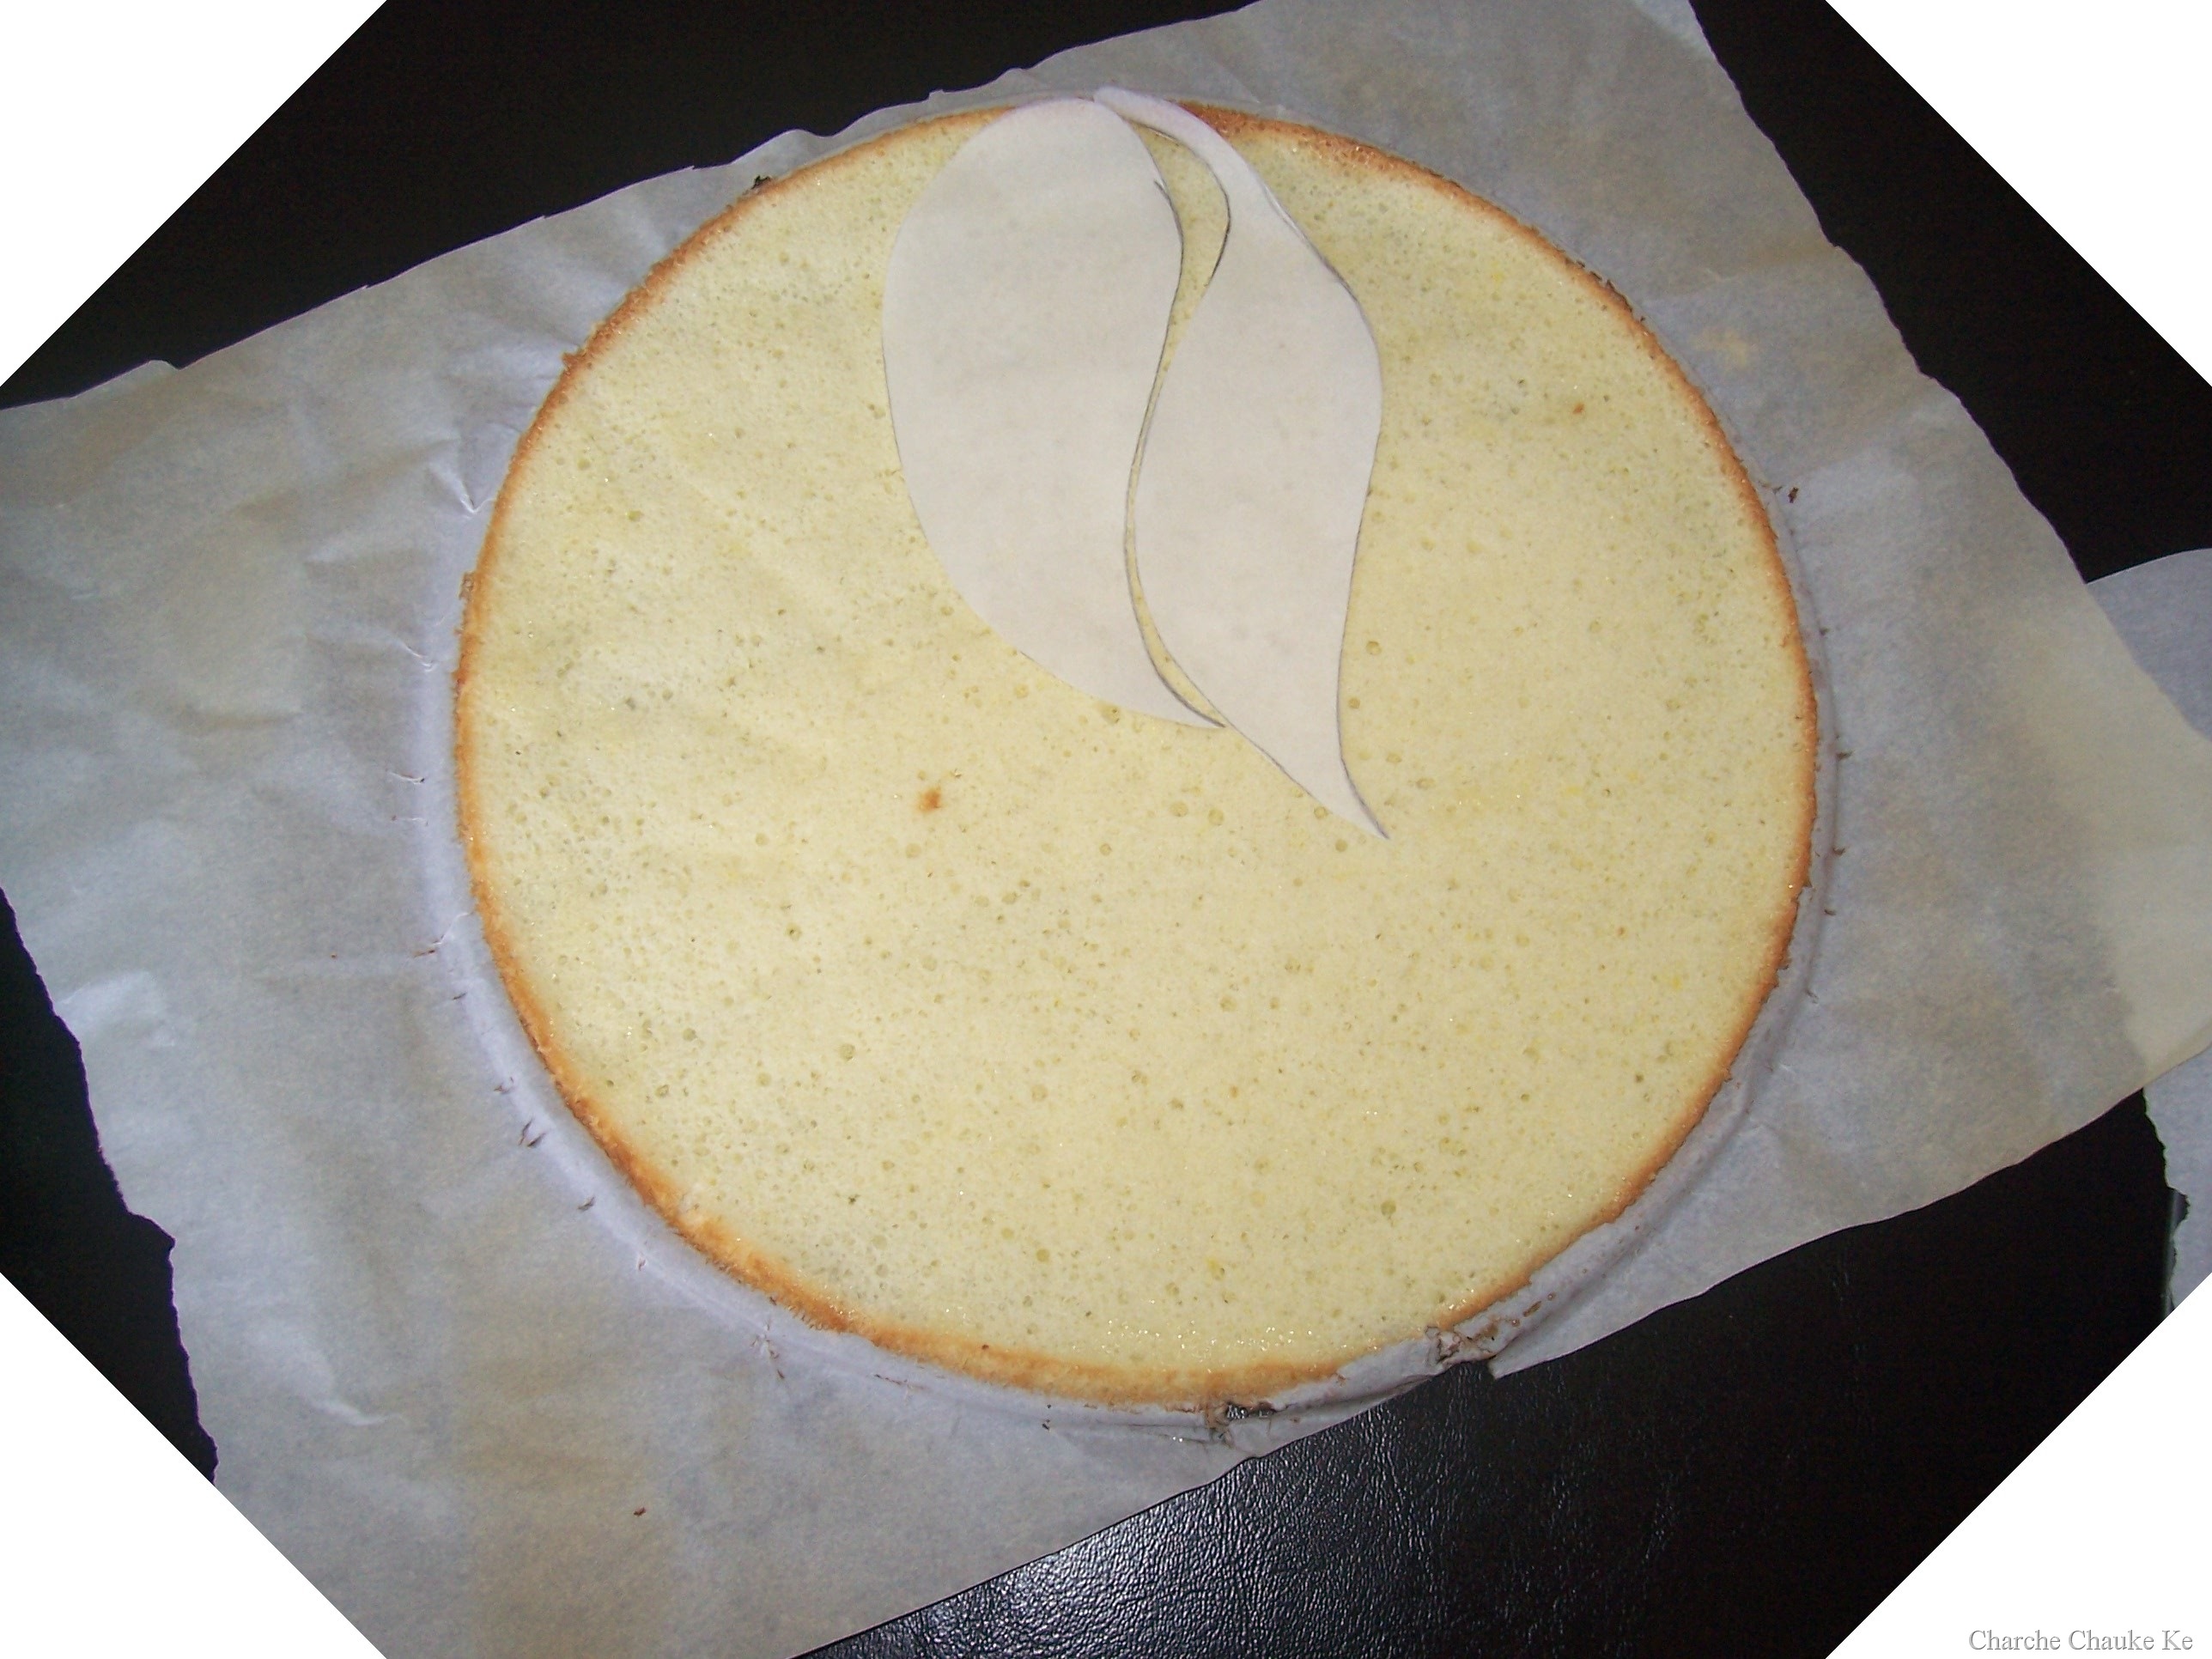
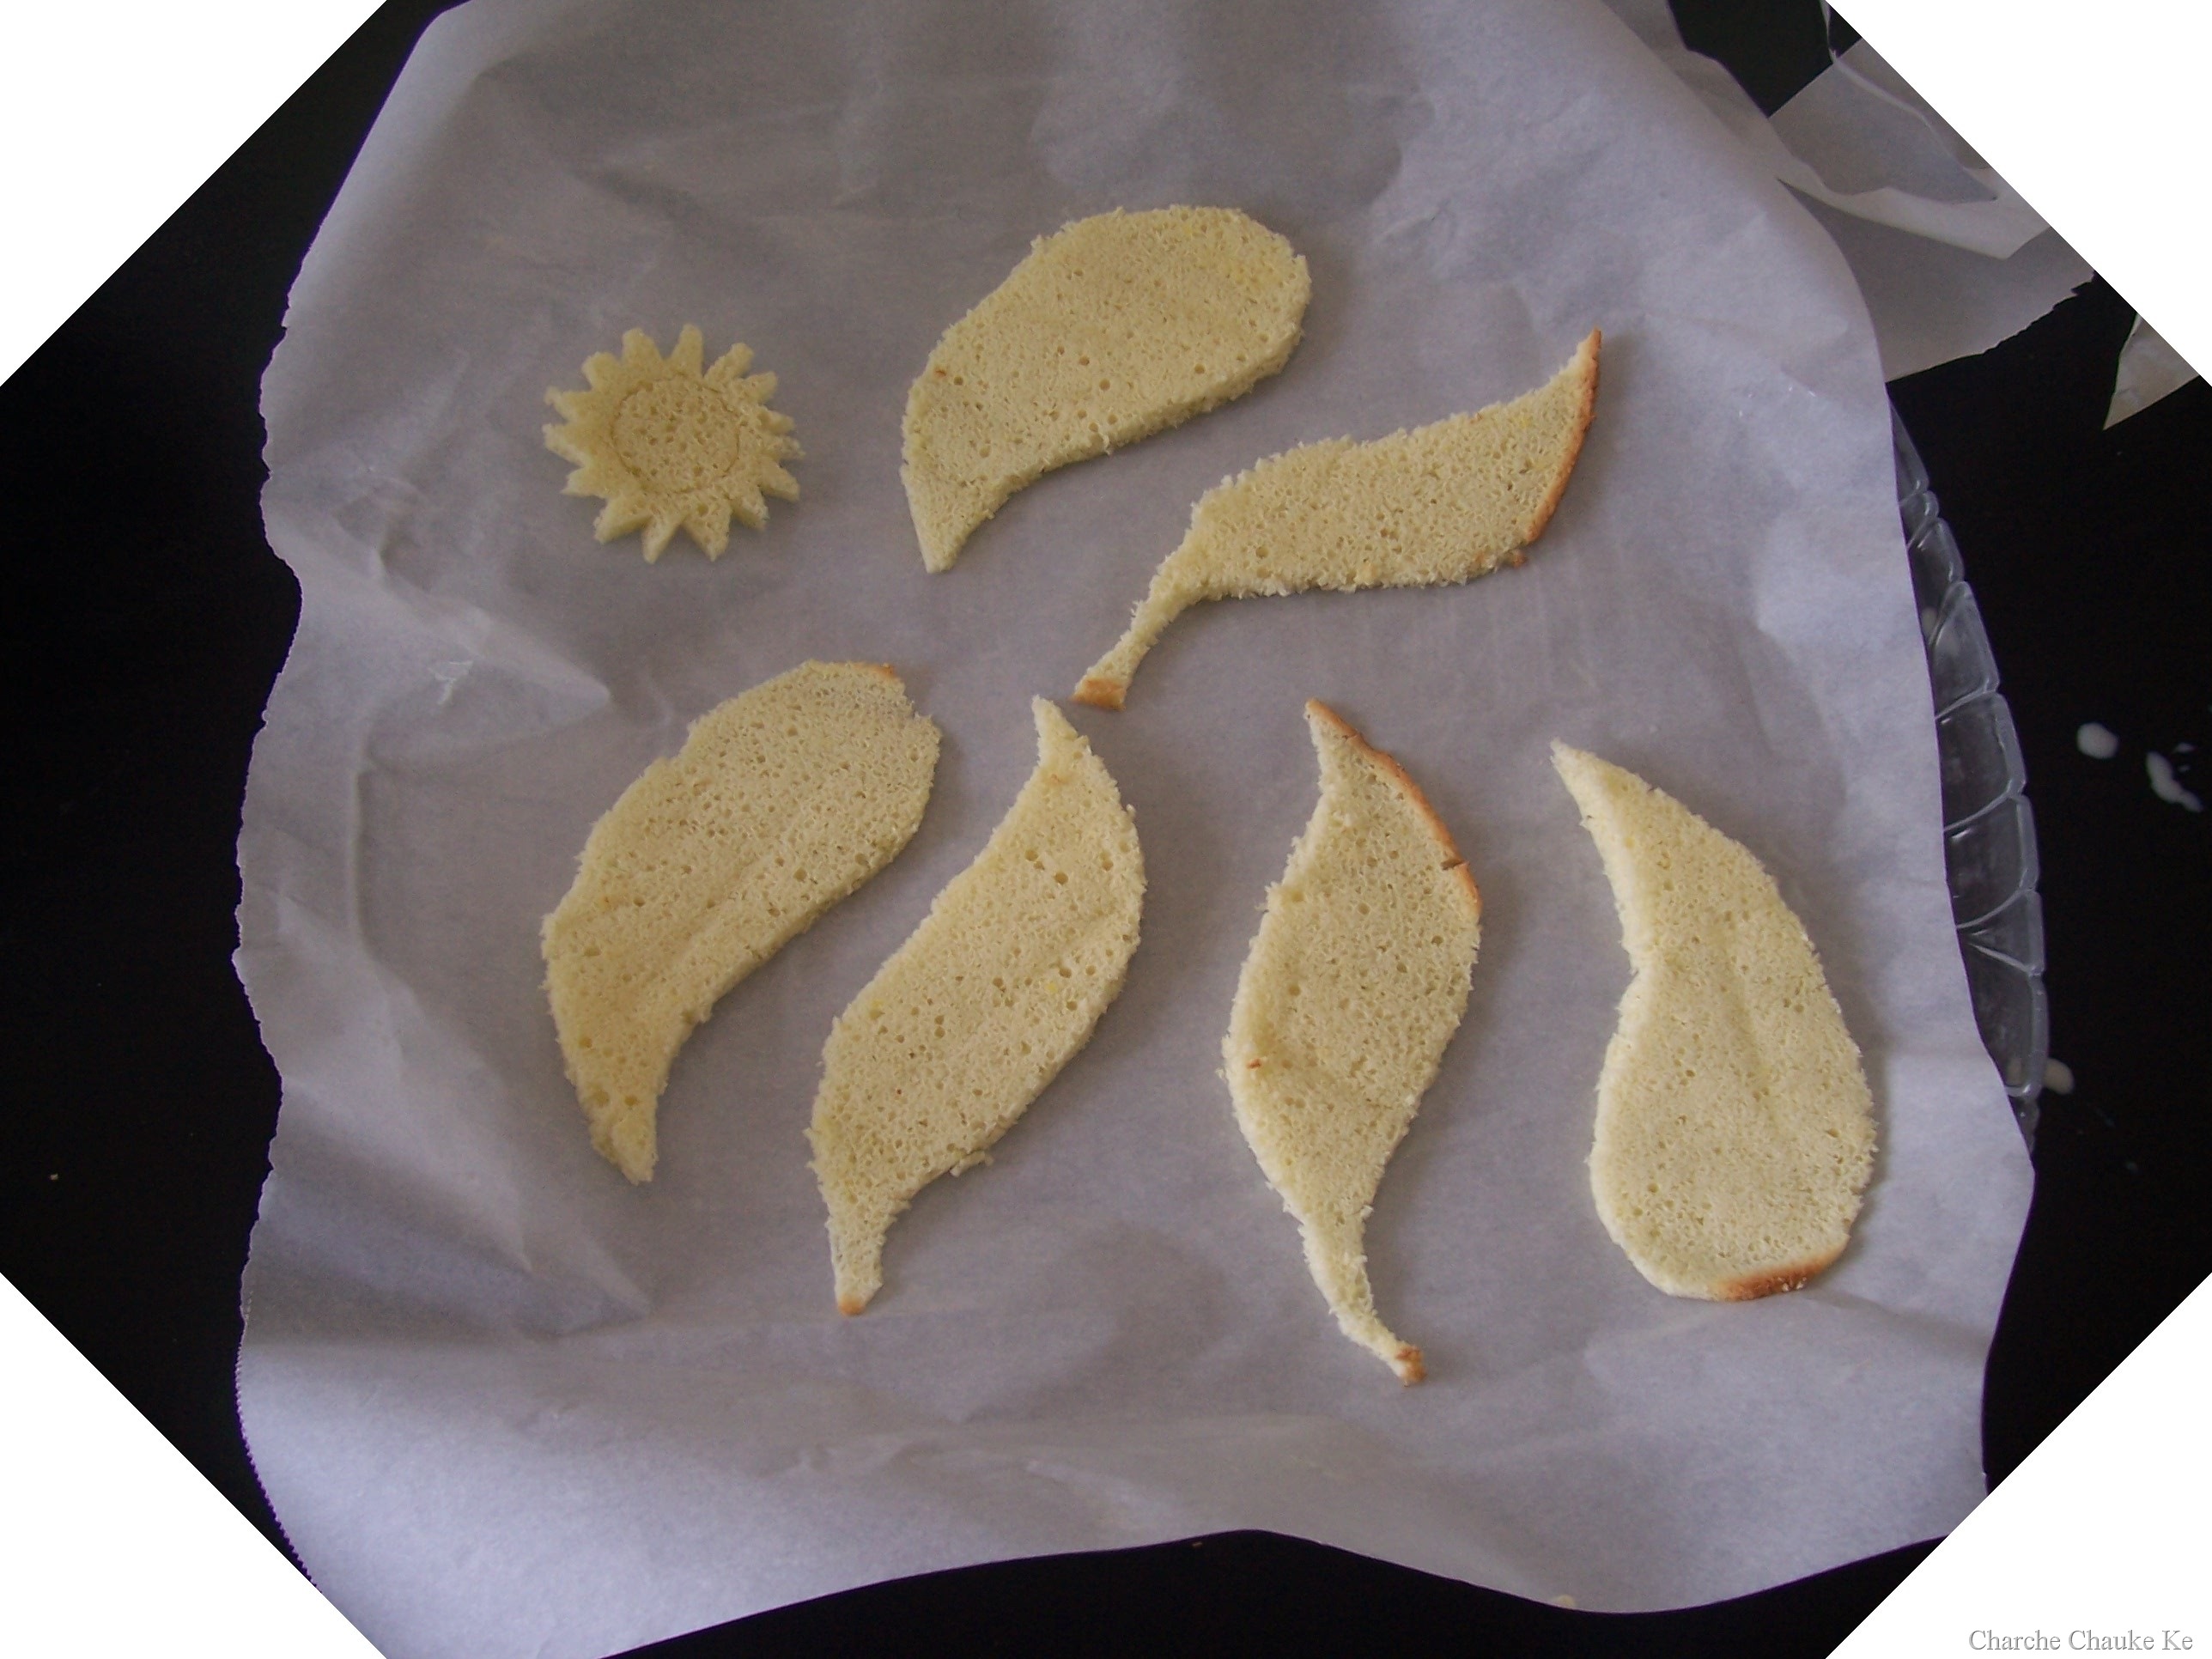
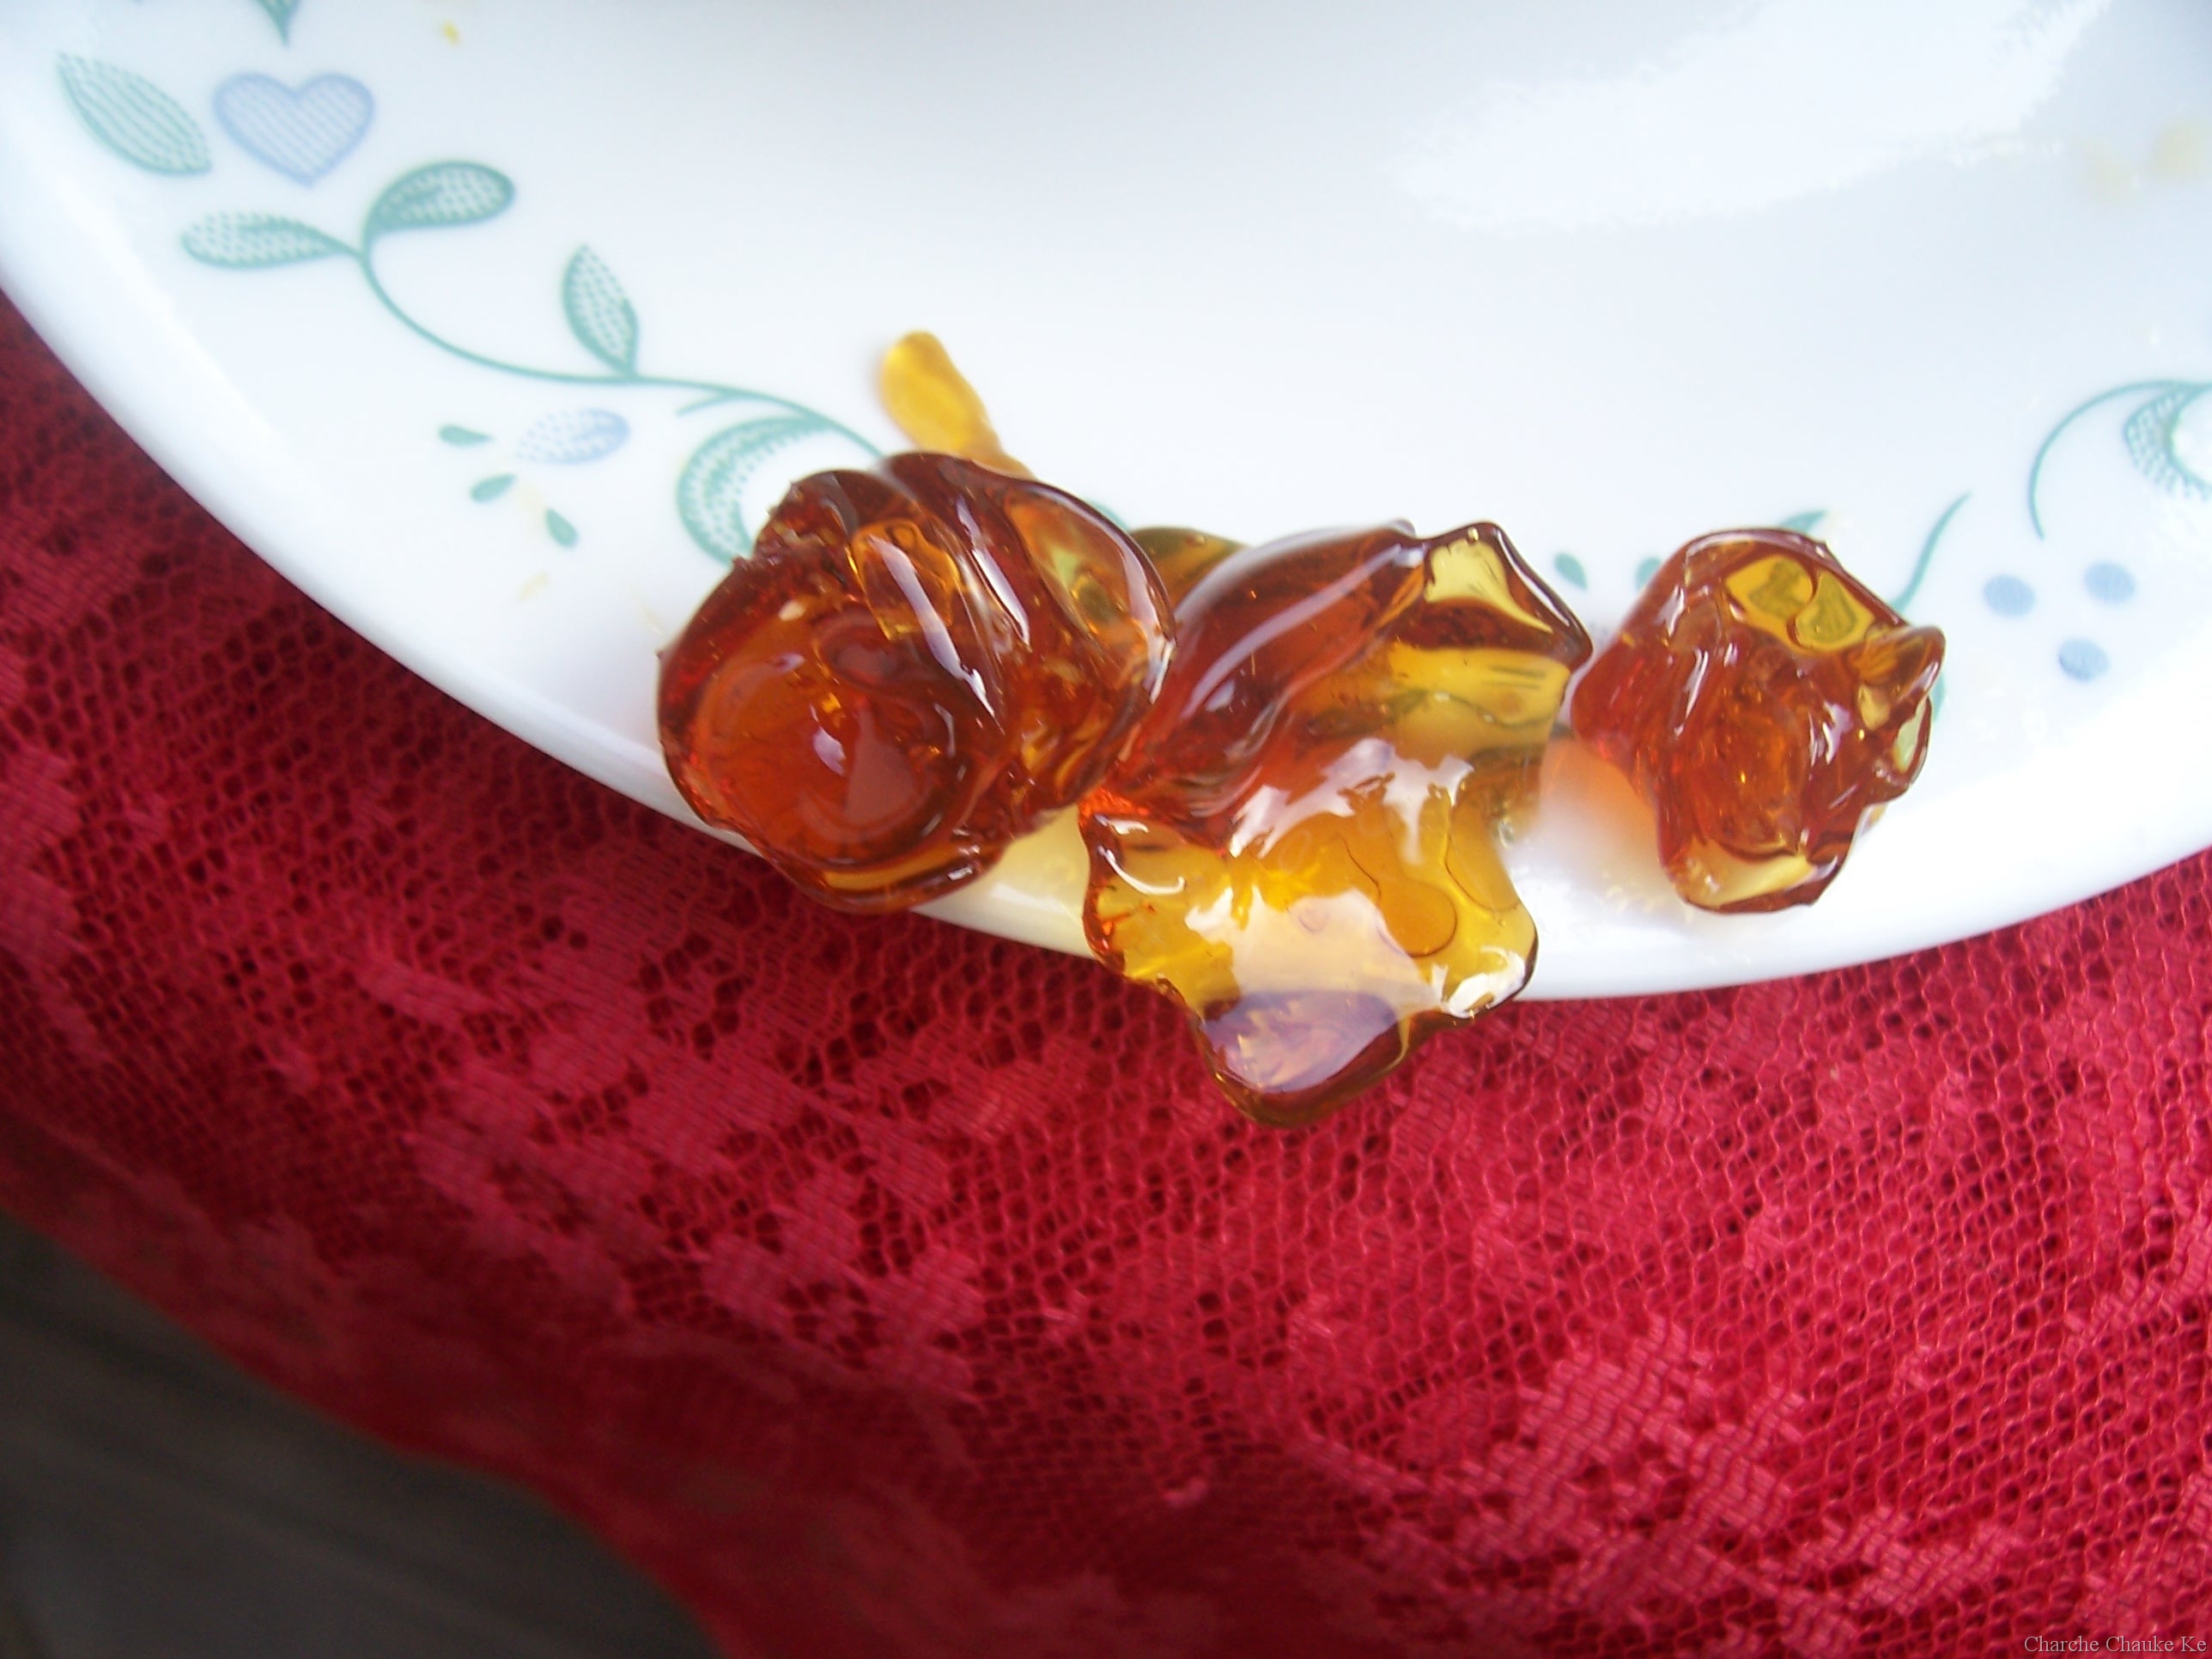
For the funny attempts at decorating. I used plastic chocolate. I will post the plastic chocolate recipe separately later.
It’s after ages I am posting a daring baker challenge on time. I also hope that I shall continue to do so in the coming months and blog a little more….I have dozens of posts half written which have not yet made it to the blog.
Expenditure:
Heavy Whipping Cream 1/2 pint ……….$1.99………….from Meijer
———————————————————————————————
Total………………………………………$1.99

I just received this photo…..it certainly looks better than the first


 presents
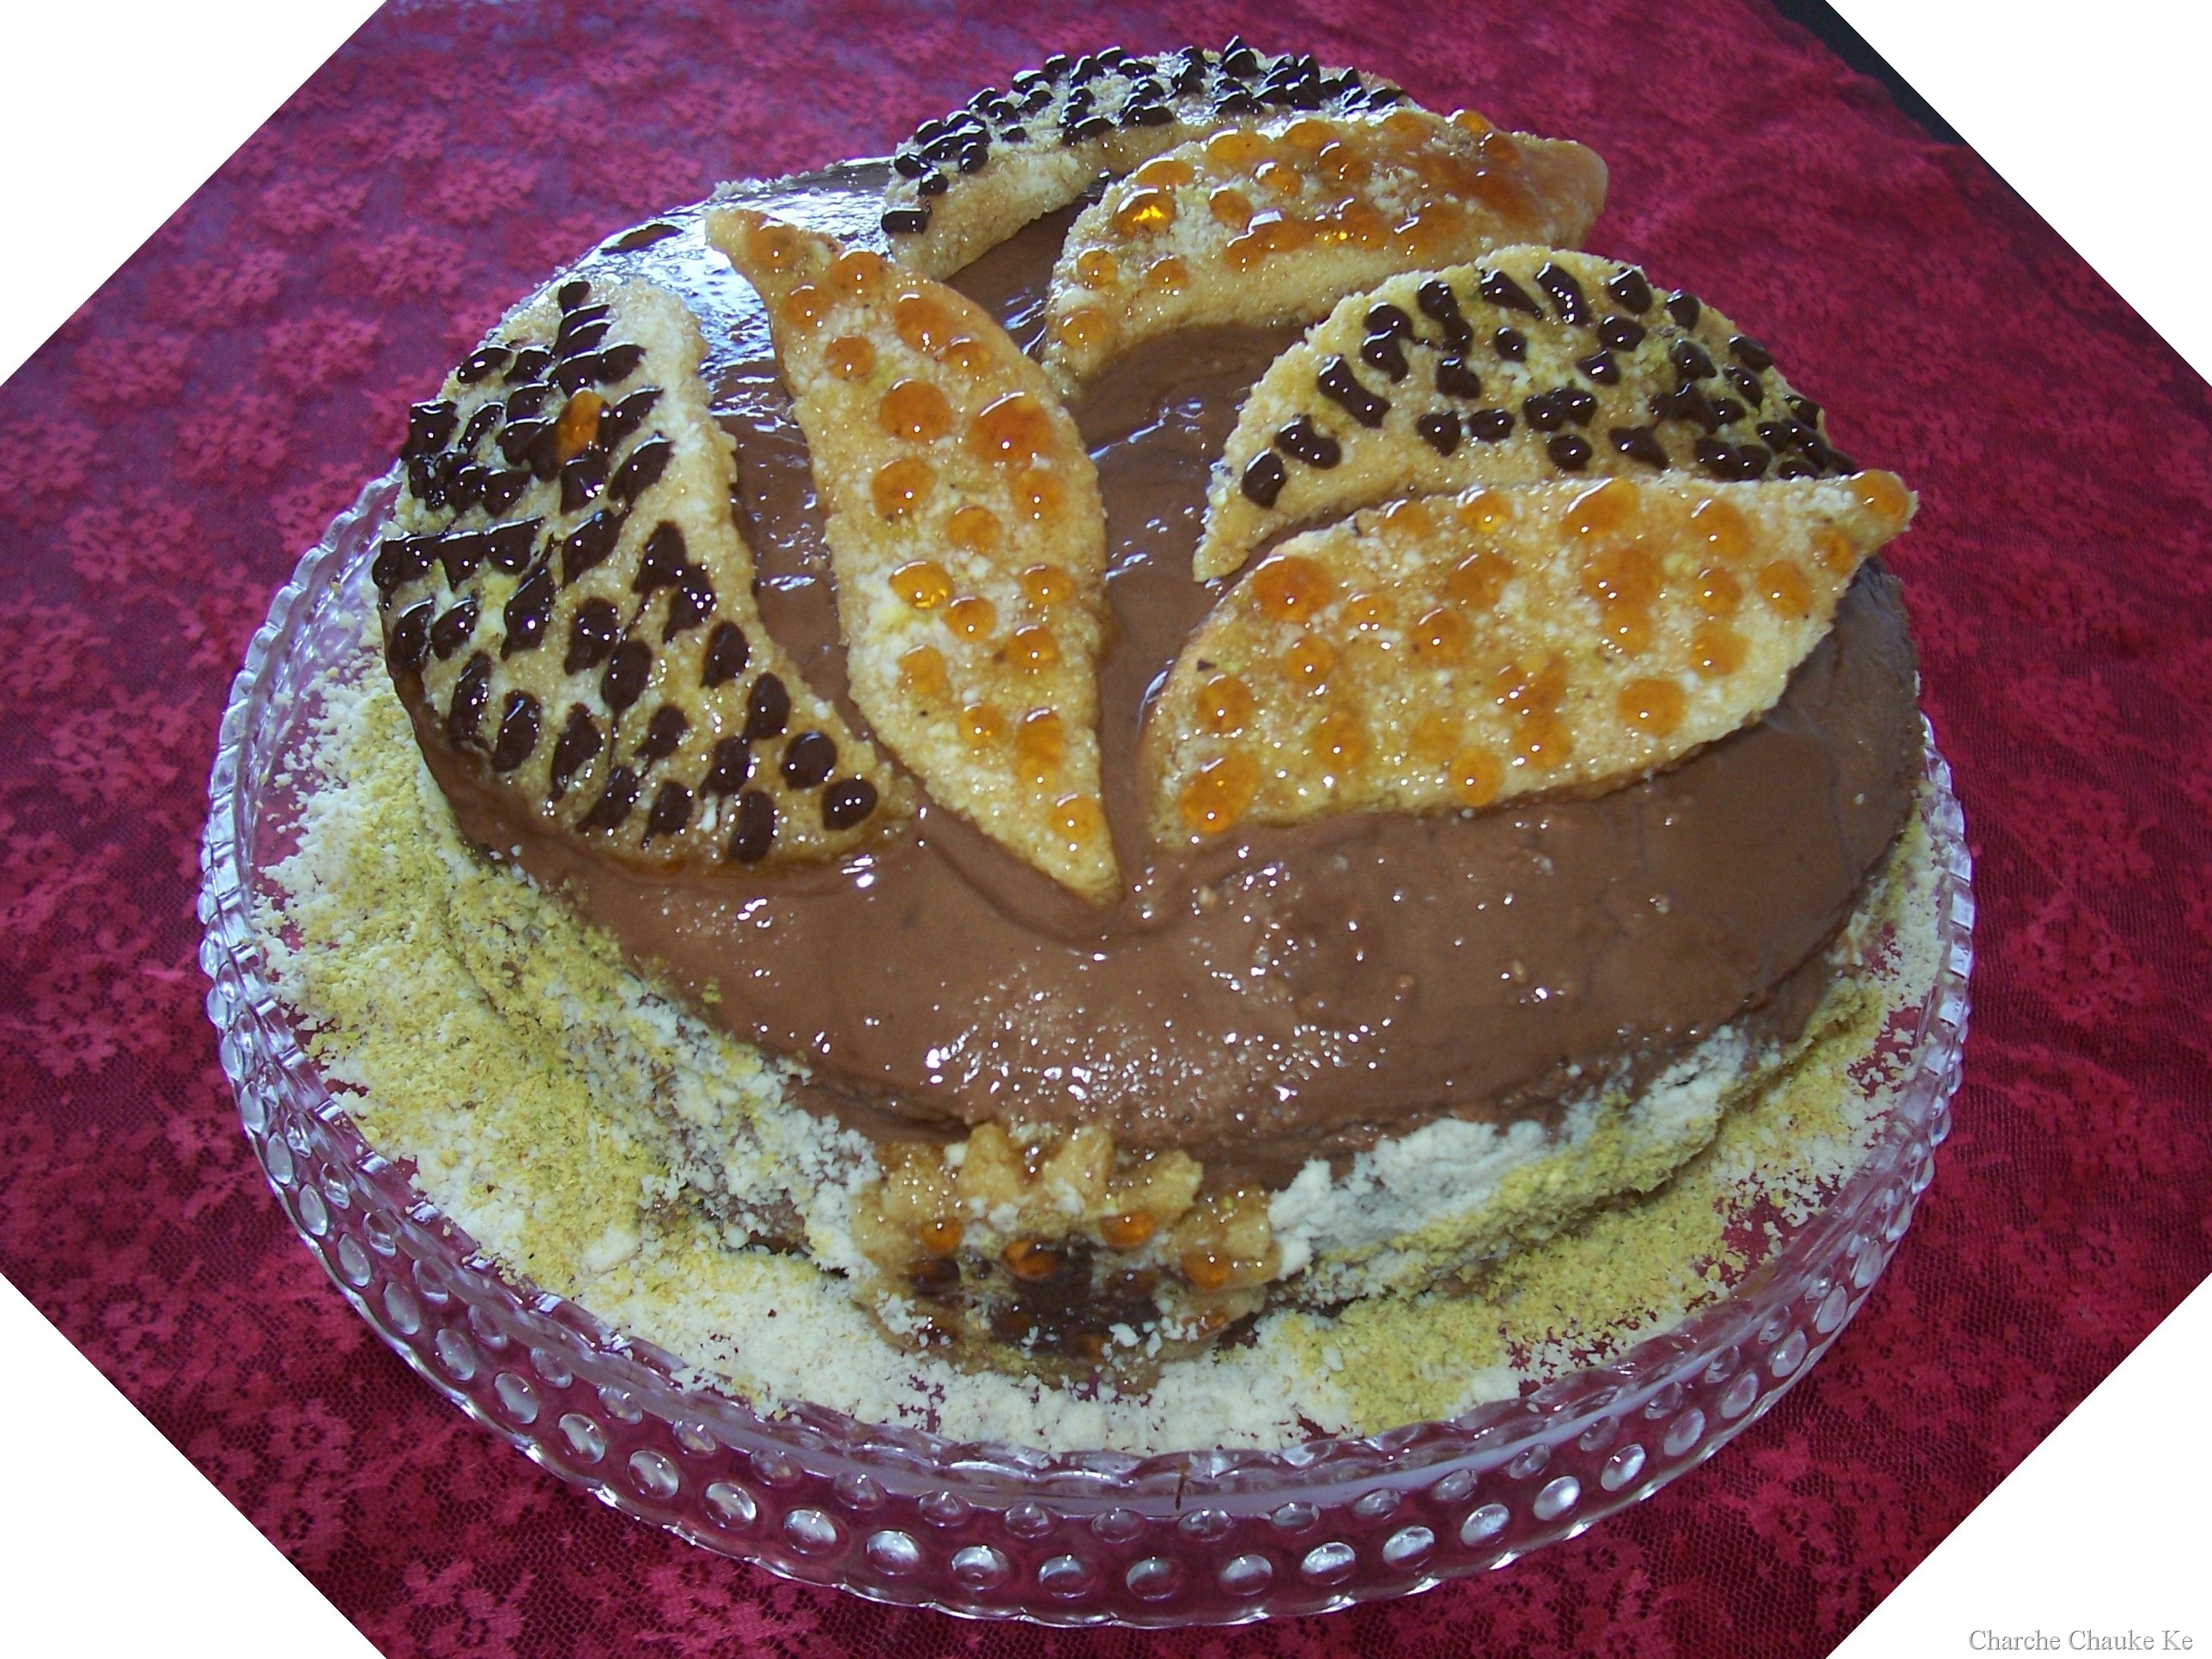


 presents:
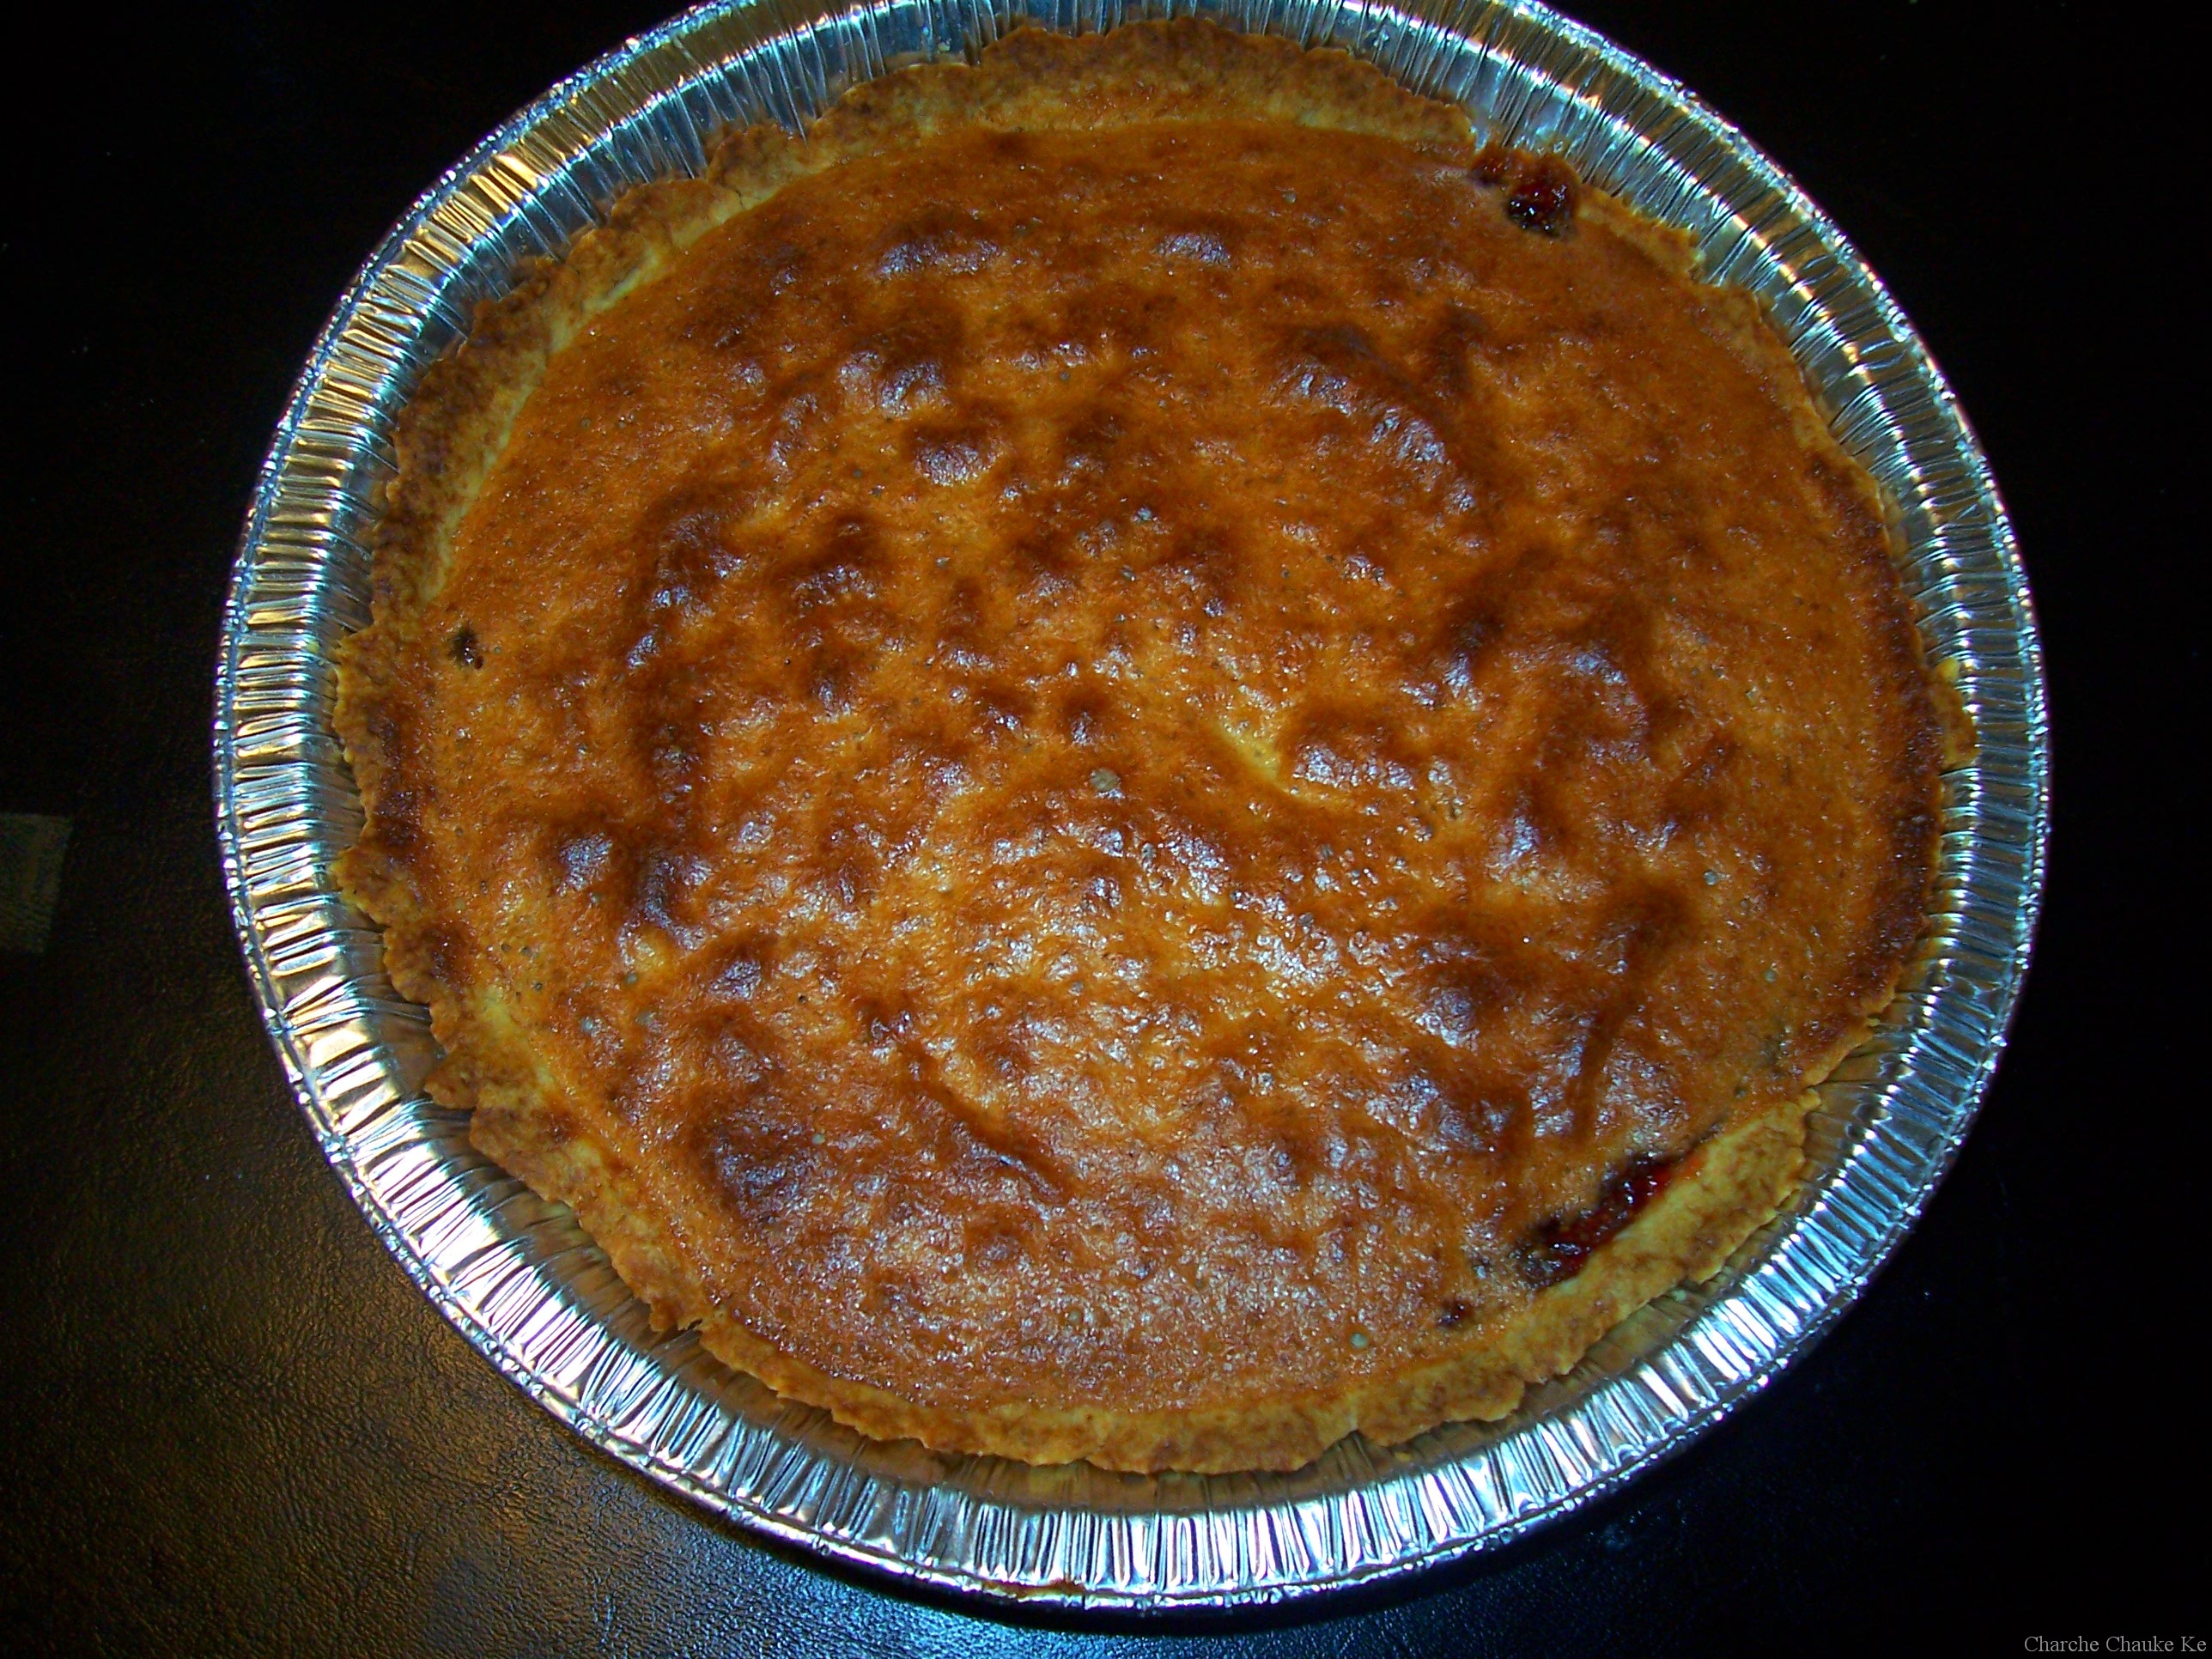


 brings…..


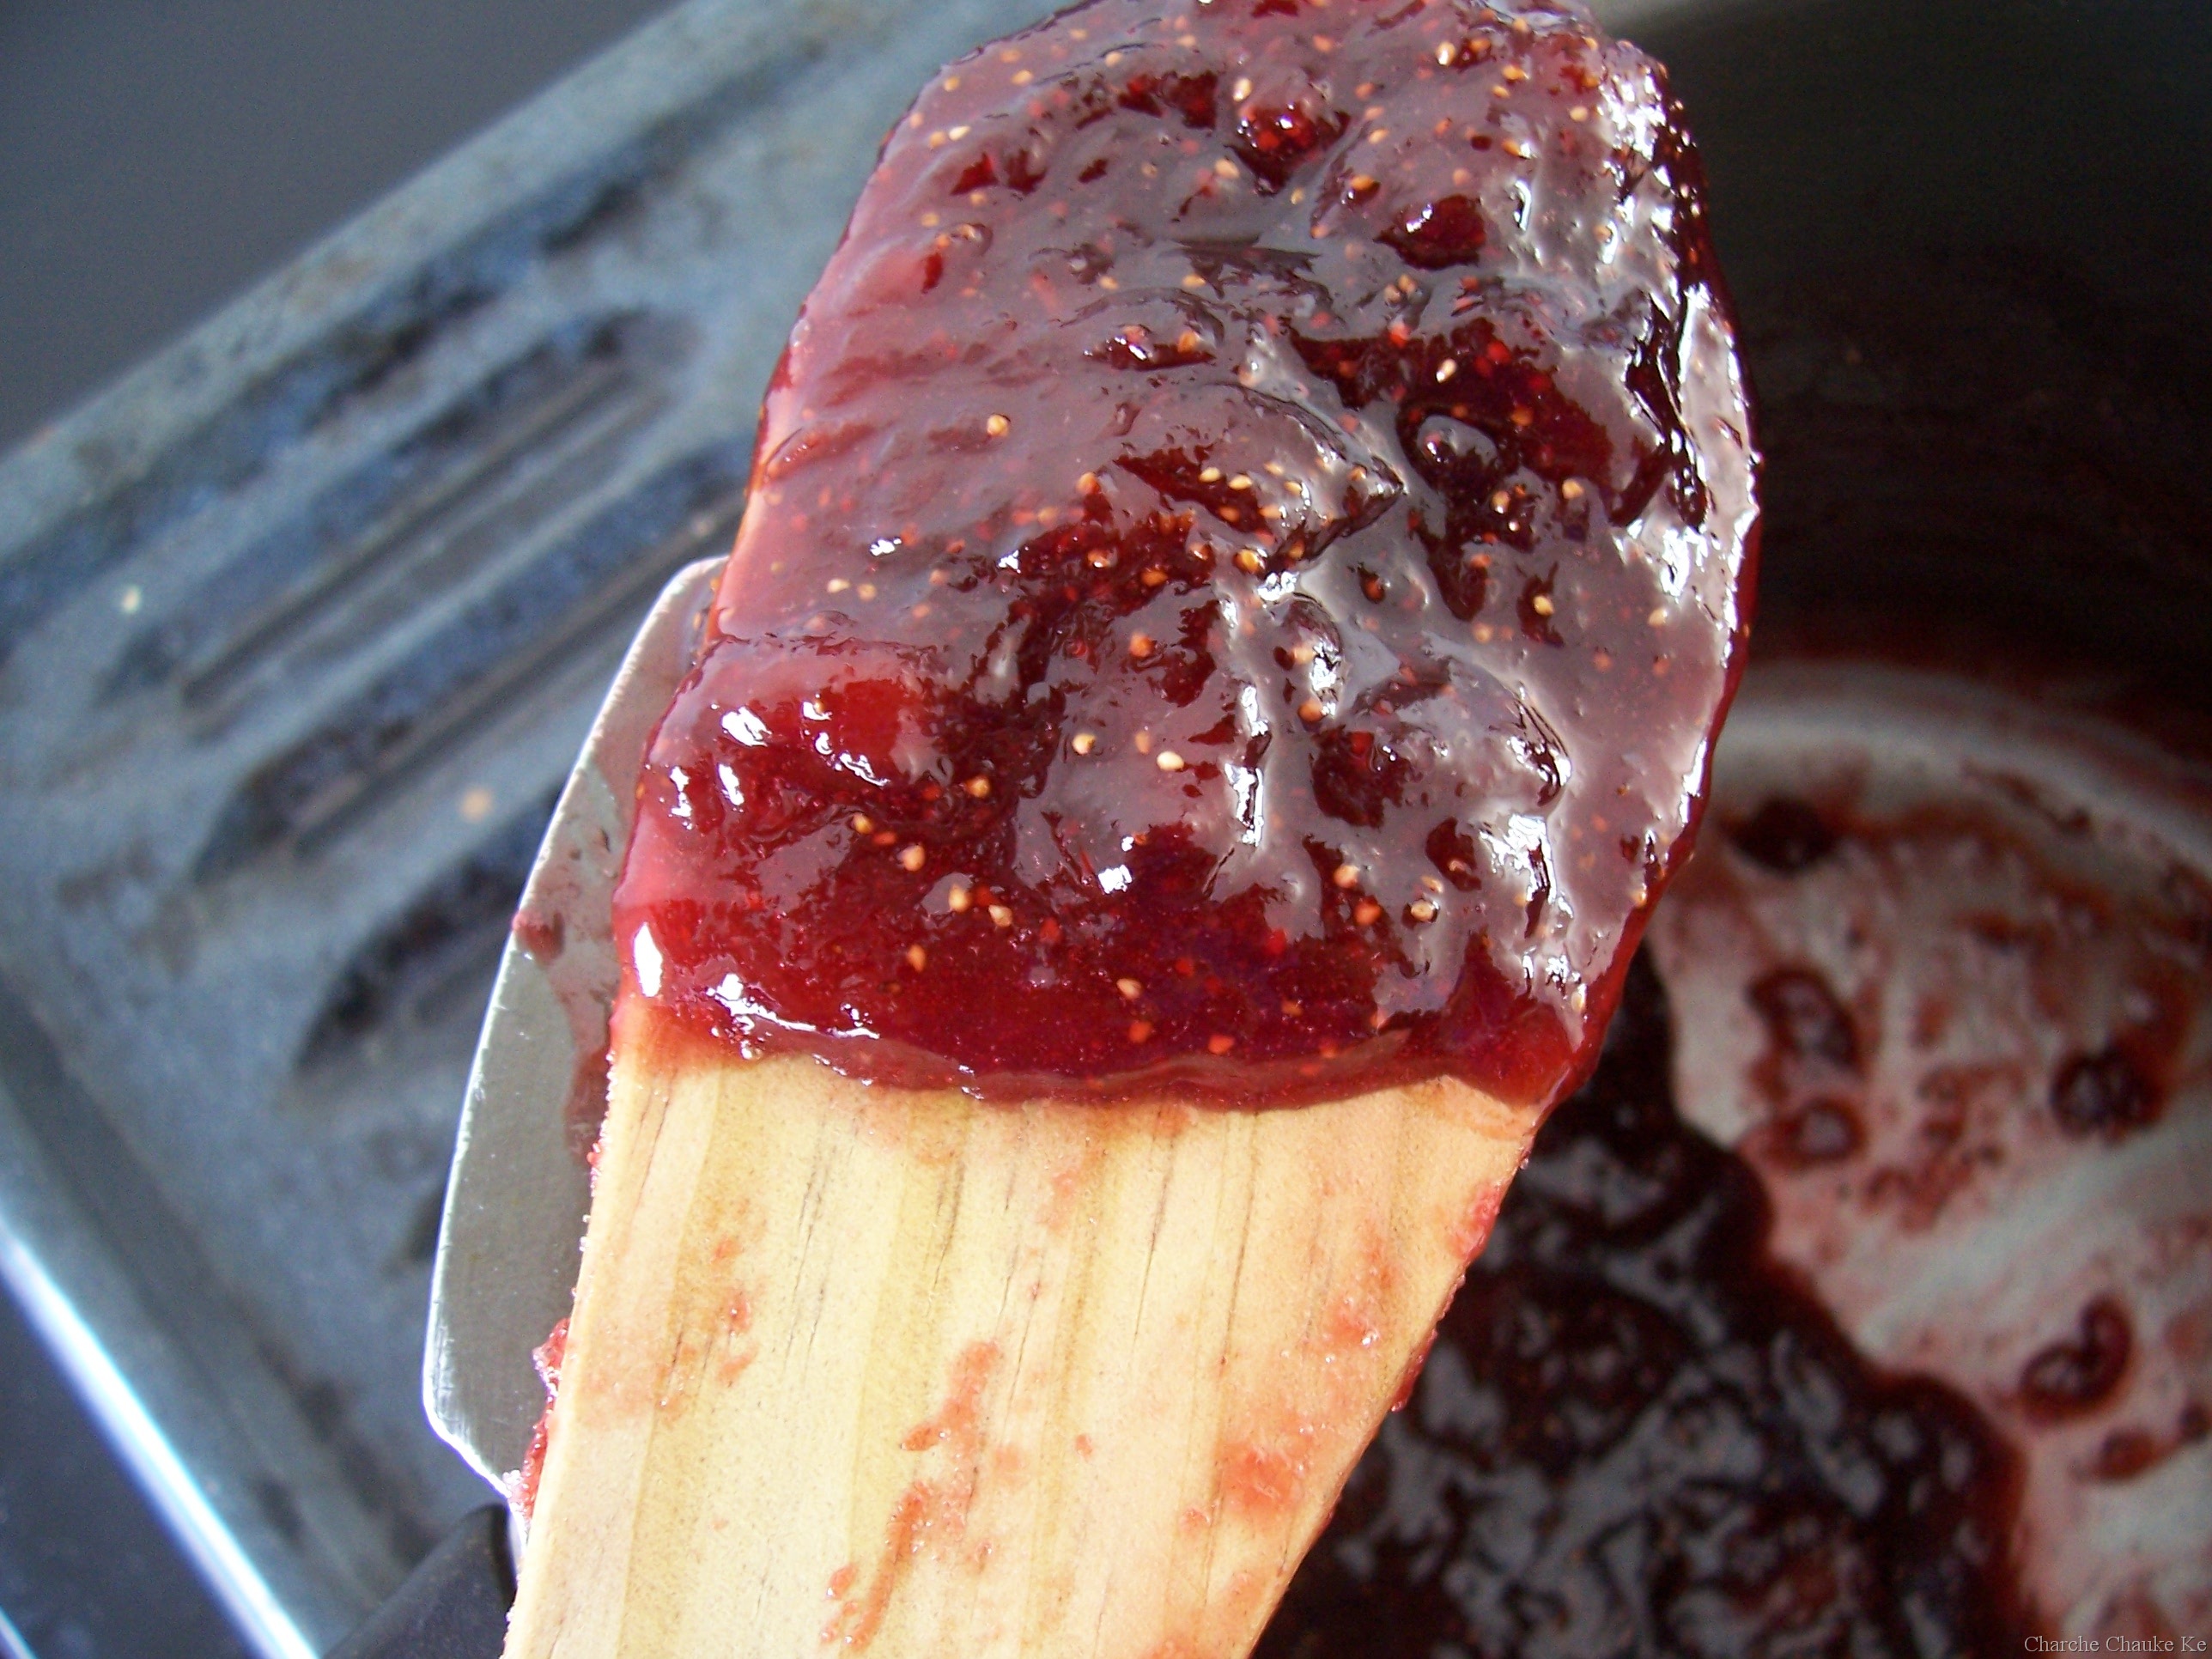
 Oh Yeah, it was the E L Spatulla’s magic this month!